This document explains how to deploy LoRA models available on Hugging Face to Friendli Dedicated Endpoints.

Friendli Dedicated Endpoints support deploying LoRA adapters for both text generation and FLUX models.

FLUX LoRA Quick Deployment Guide

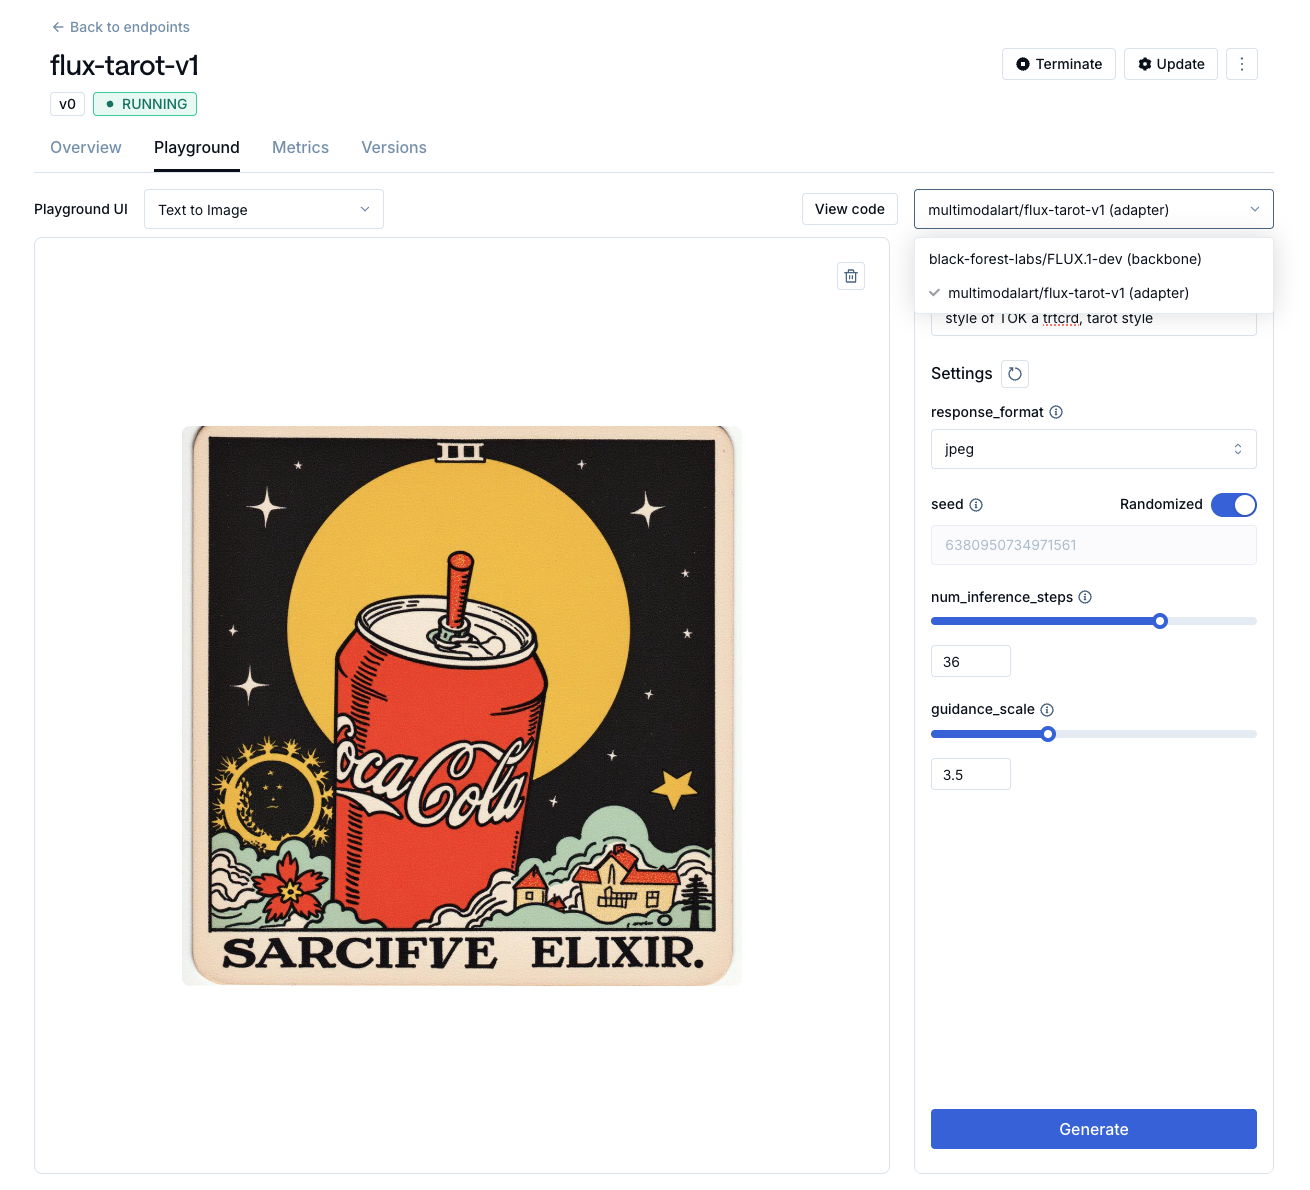
This tutorial demonstrates how to deploy the FLUX LoRA model multimodalart/flux-tarot-v1, which is trained to generate images in the style of Rider–Waite Tarot cards.

Friendli offers a convenient one-click deployment feature, Deploy-Model, that streamlines the process of serving LoRA adapters from the Hugging Face Hub on Dedicated Endpoints. To deploy a specific model, simply use a URL in the format https://friendli.ai/deploy-model/{hf-model-id}.

For example, to deploy the FLUX LoRA model mentioned above, use this link. This will launch the deployment workflow, allowing you to quickly serve and experiment with the model on Friendli.
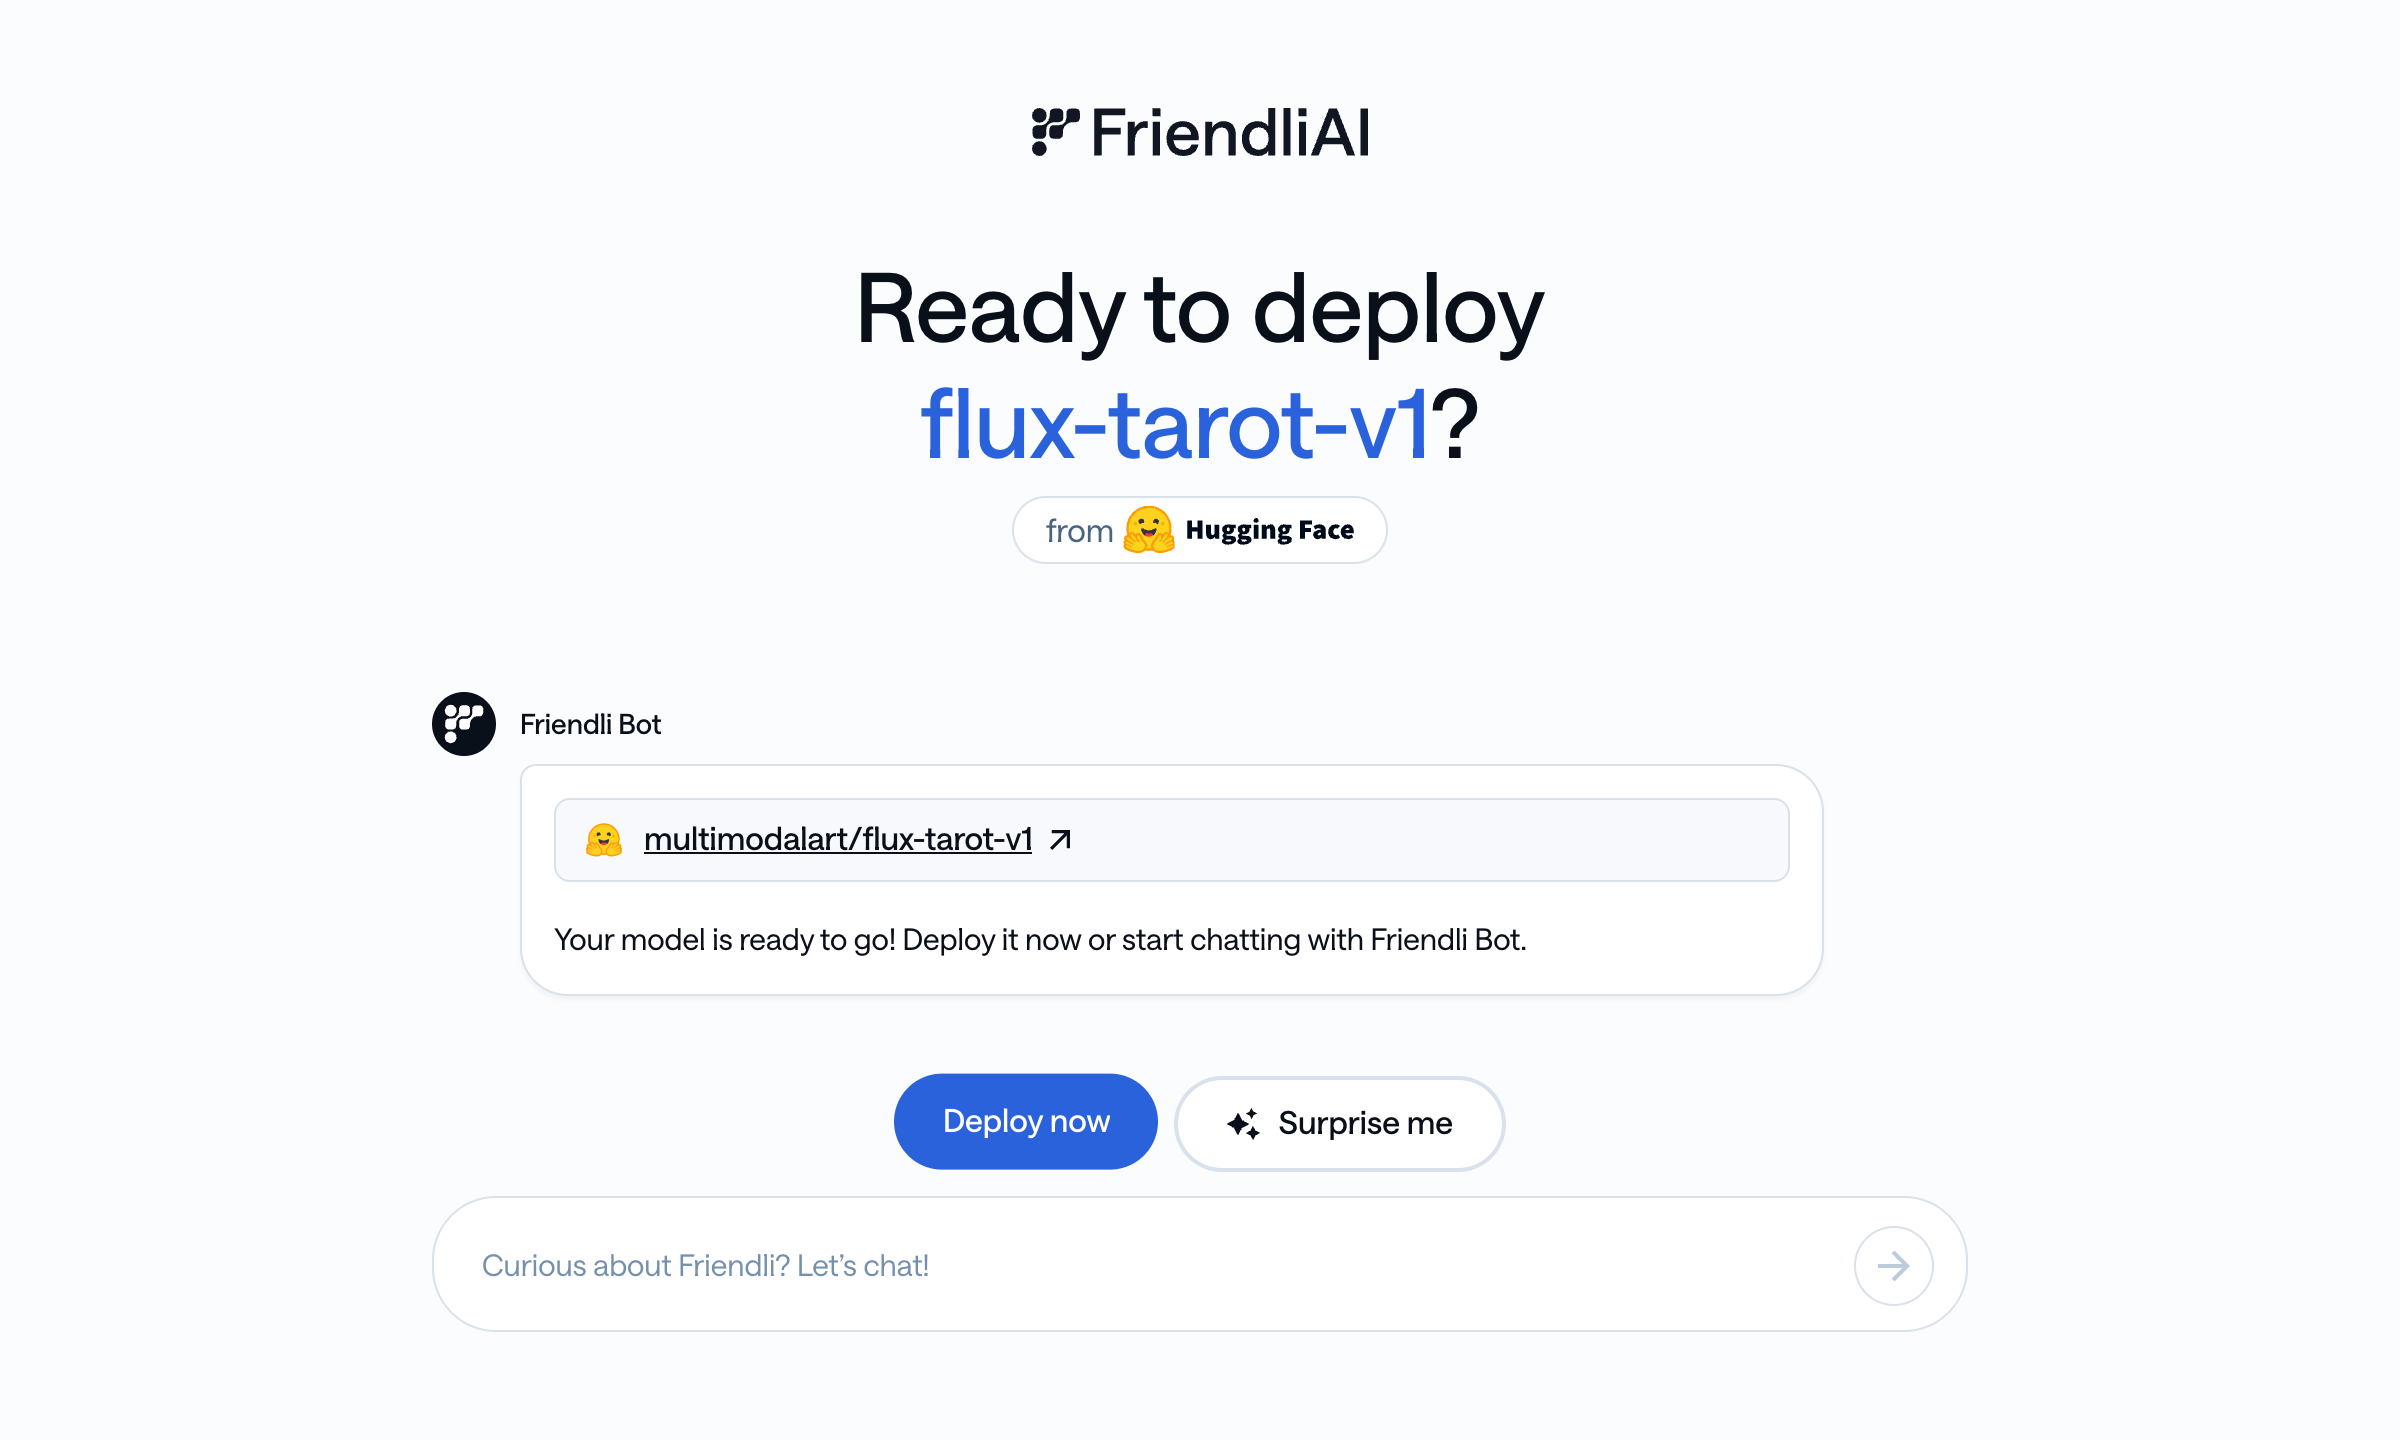
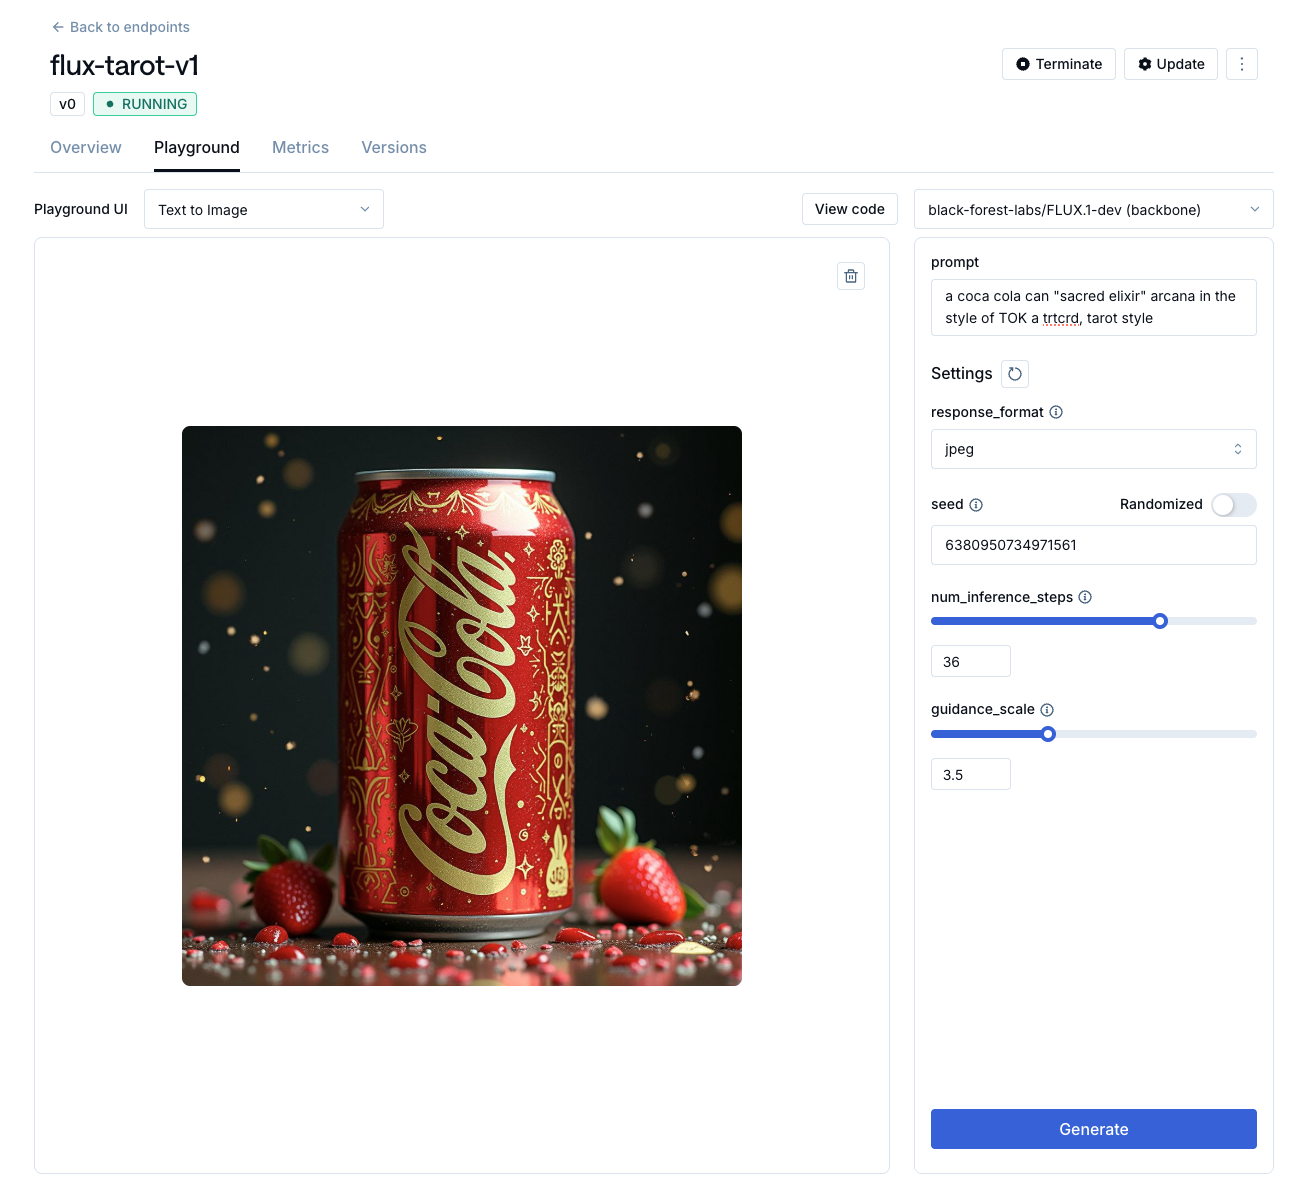
Clicking the link above will display a screen like the one shown. Click the “Deploy now” button here to deploy the LoRA model to Friendli Dedicated Endpoints. Once the deployment is complete, a screen like the one below will appear. Click the “Go to Suite” button to navigate to the playground where you can use the LoRA model.

original-generated-image

Original Generated Image

lora-generated-image

LoRA Generated Image

Advanced: Deploying LoRA Models with Custom Settings

While the quick deployment method described above is convenient, you can also deploy LoRA endpoints with custom settings. This allows you to specify the GPU instance type, endpoint name, scaling options, and more.

1

Sign up for Friendli Suite

Log in to your Friendli Suite account and navigate to the Friendli Dedicated Endpoints dashboard. If not done already, start the free trial for Dedicated Endpoints.
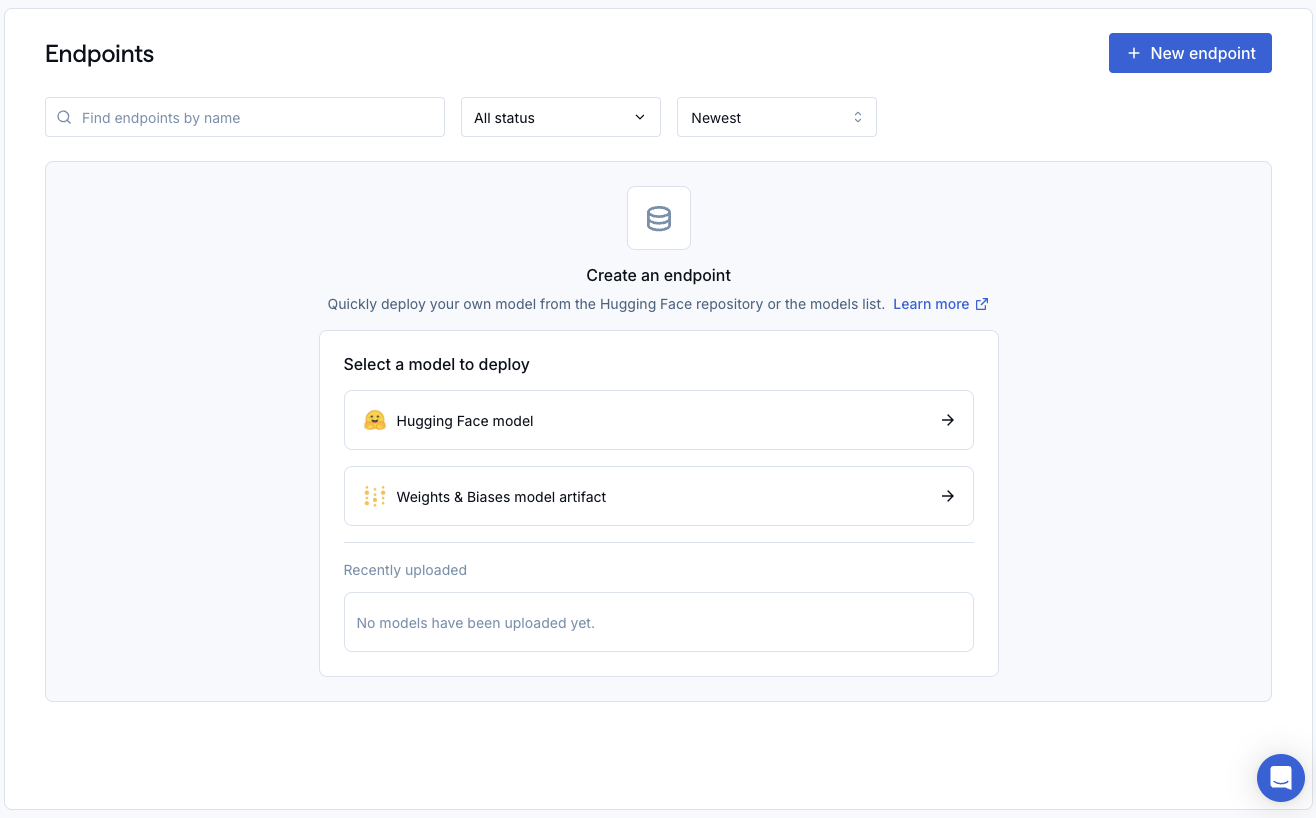
2

Navigate to the Endpoint Creation Page

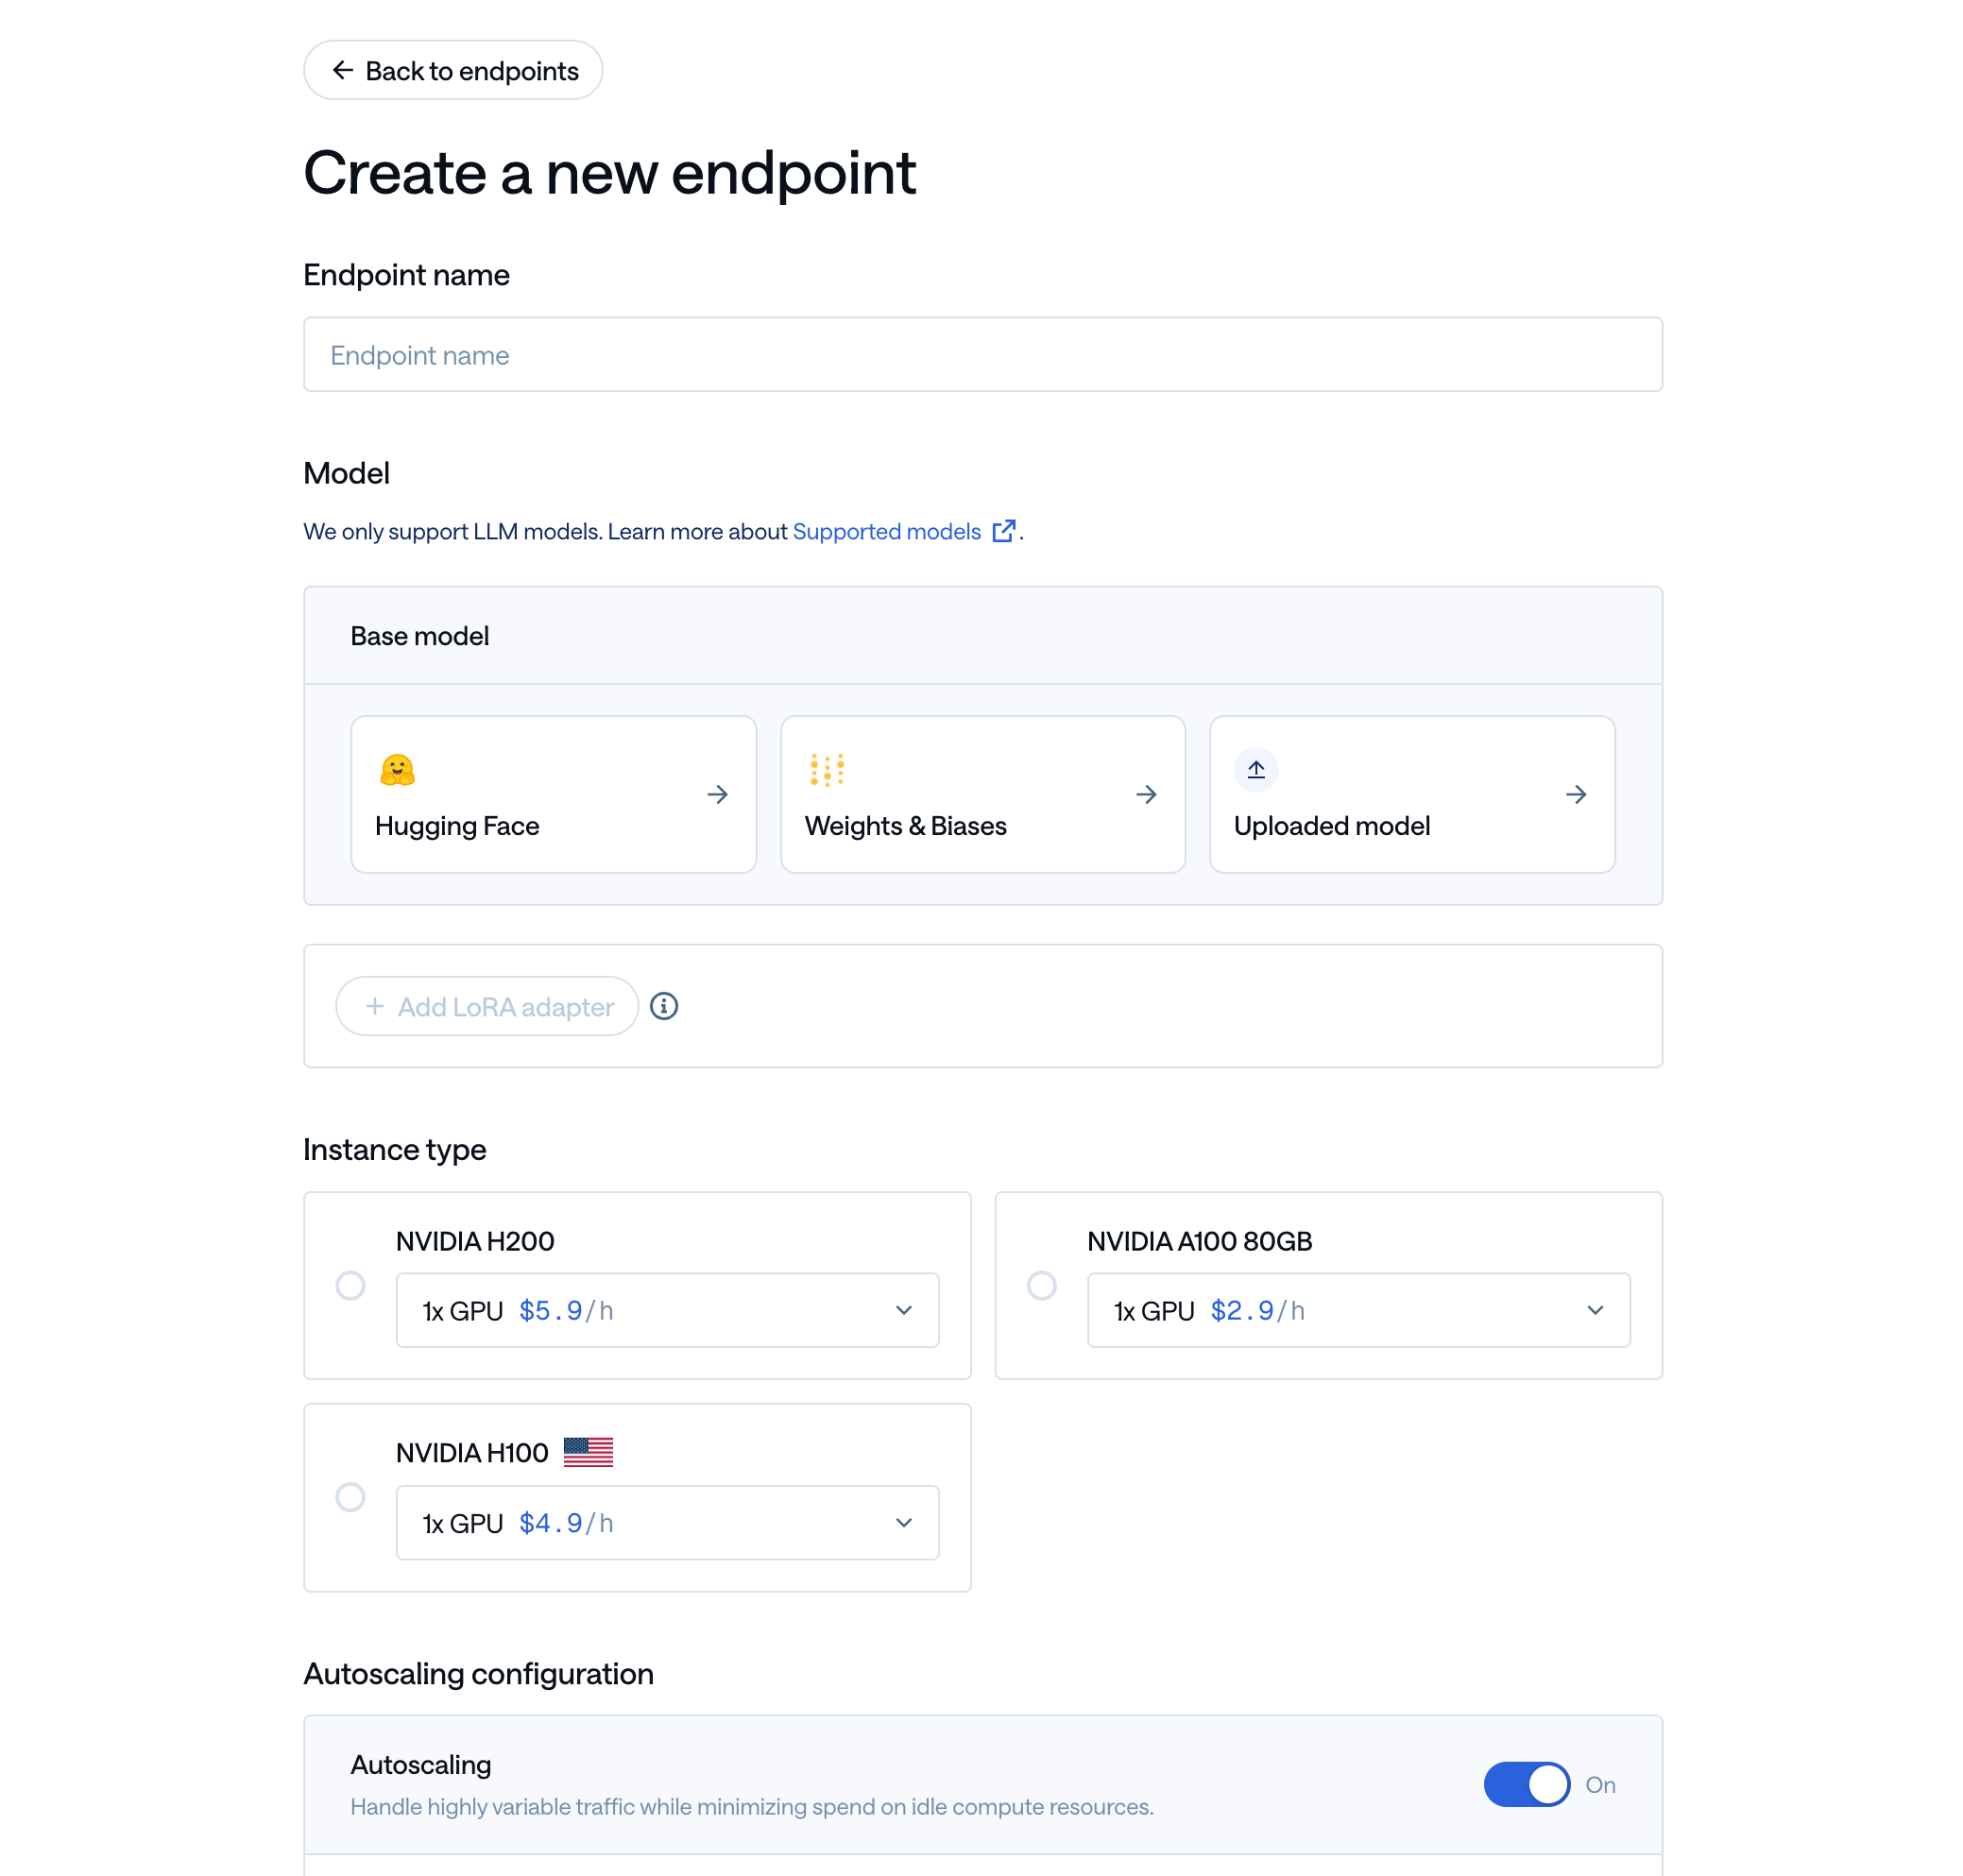
Create a new project, then click on the “New Endpoint” button. You’ll see a screen like the one below. Enter an Endpoint Name, for example, “My New LoRA Endpoint”.
3

Select the Base Model

Friendli Suite currently supports LoRA adapters trained within the Suite and those available on the Hugging Face Hub. Since this tutorial doesn’t cover fine-tuning, we’ll focus on deploying LoRA adapters from the Hugging Face Hub. First, in the Base Model section, select “Hugging Face” and choose the base model for the LoRA adapter you want to deploy.

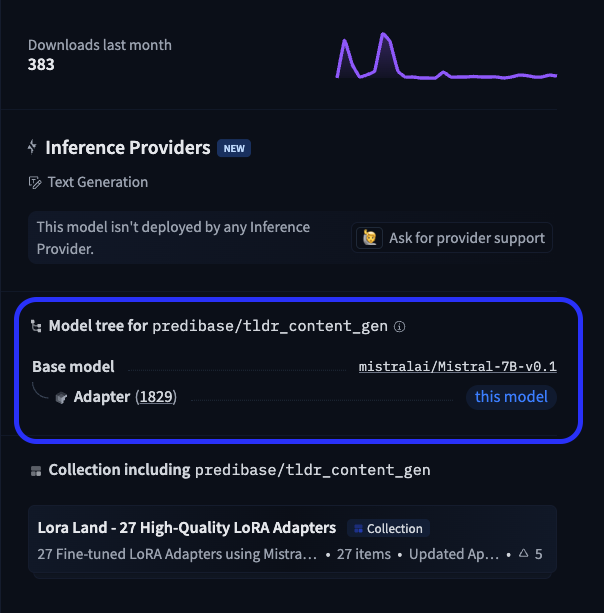
There are several ways to find the base model of a LoRA adapter. The most common method is to check the model tree on the Hugging Face model page.

In this example, we’ll deploy the predibase/tldr_content_gen adapter.
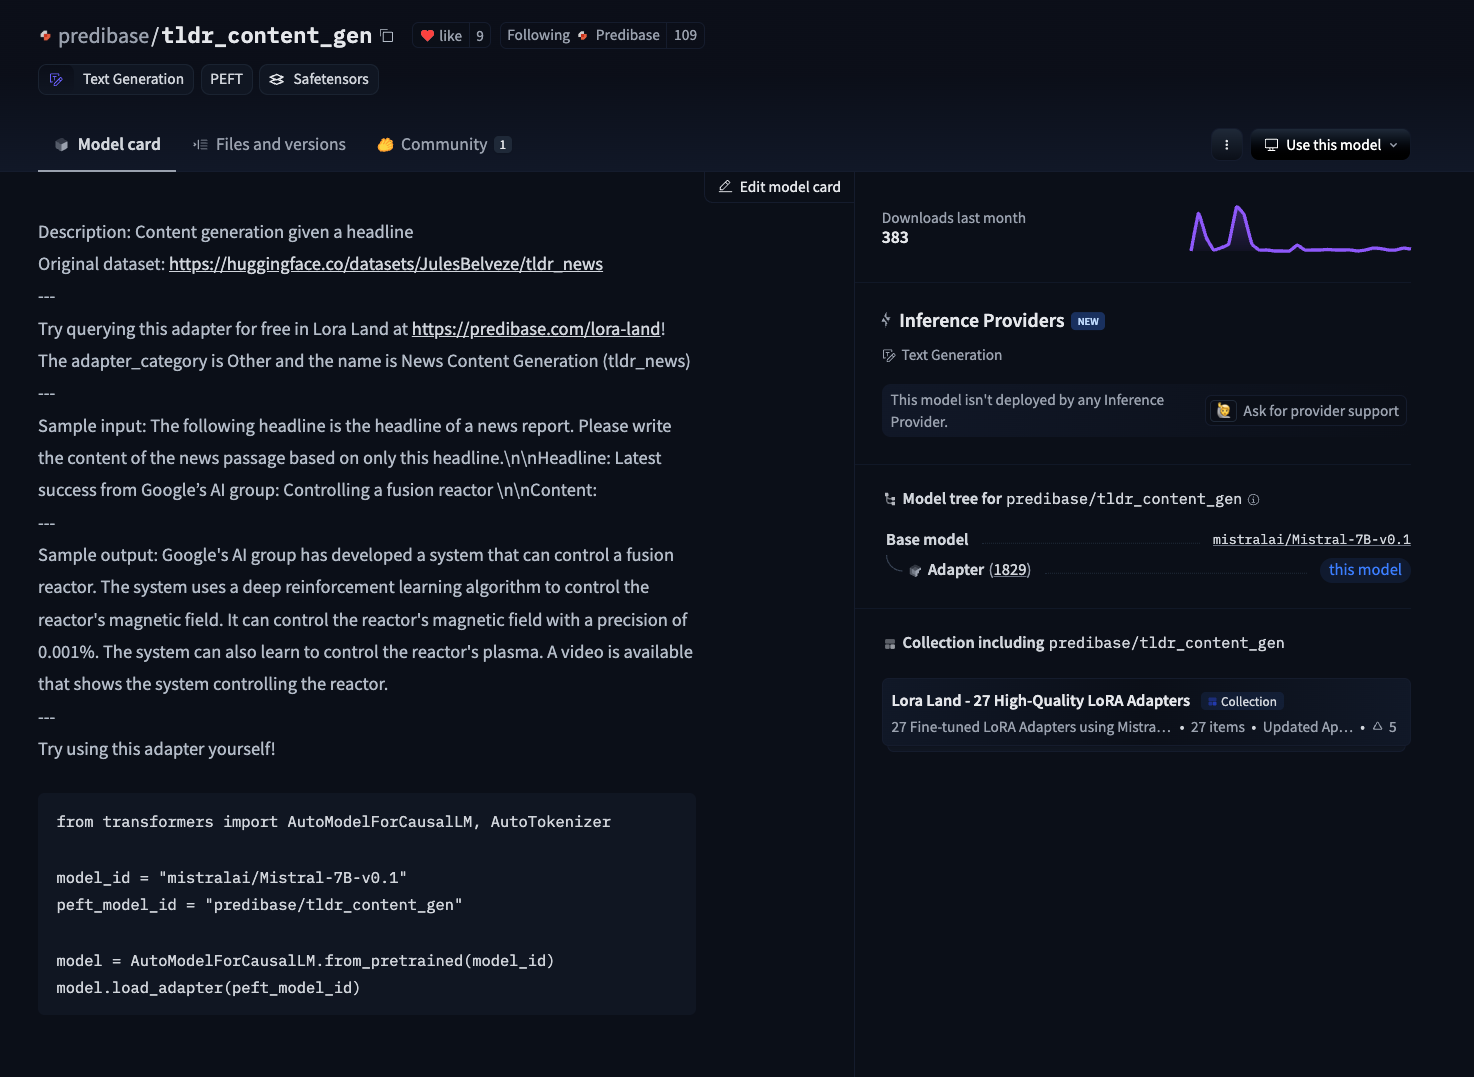
On the Hugging Face model page for this adapter, you can find the Model tree on the right side. This shows the base model used. In this case, the adapter is based on the mistralai/Mistral-7B-v0.1 model.

Enter the identified base model name into the model input field on the Endpoint Create page.

4

Select the LoRA Adapter

Now it’s time to select the LoRA adapter.
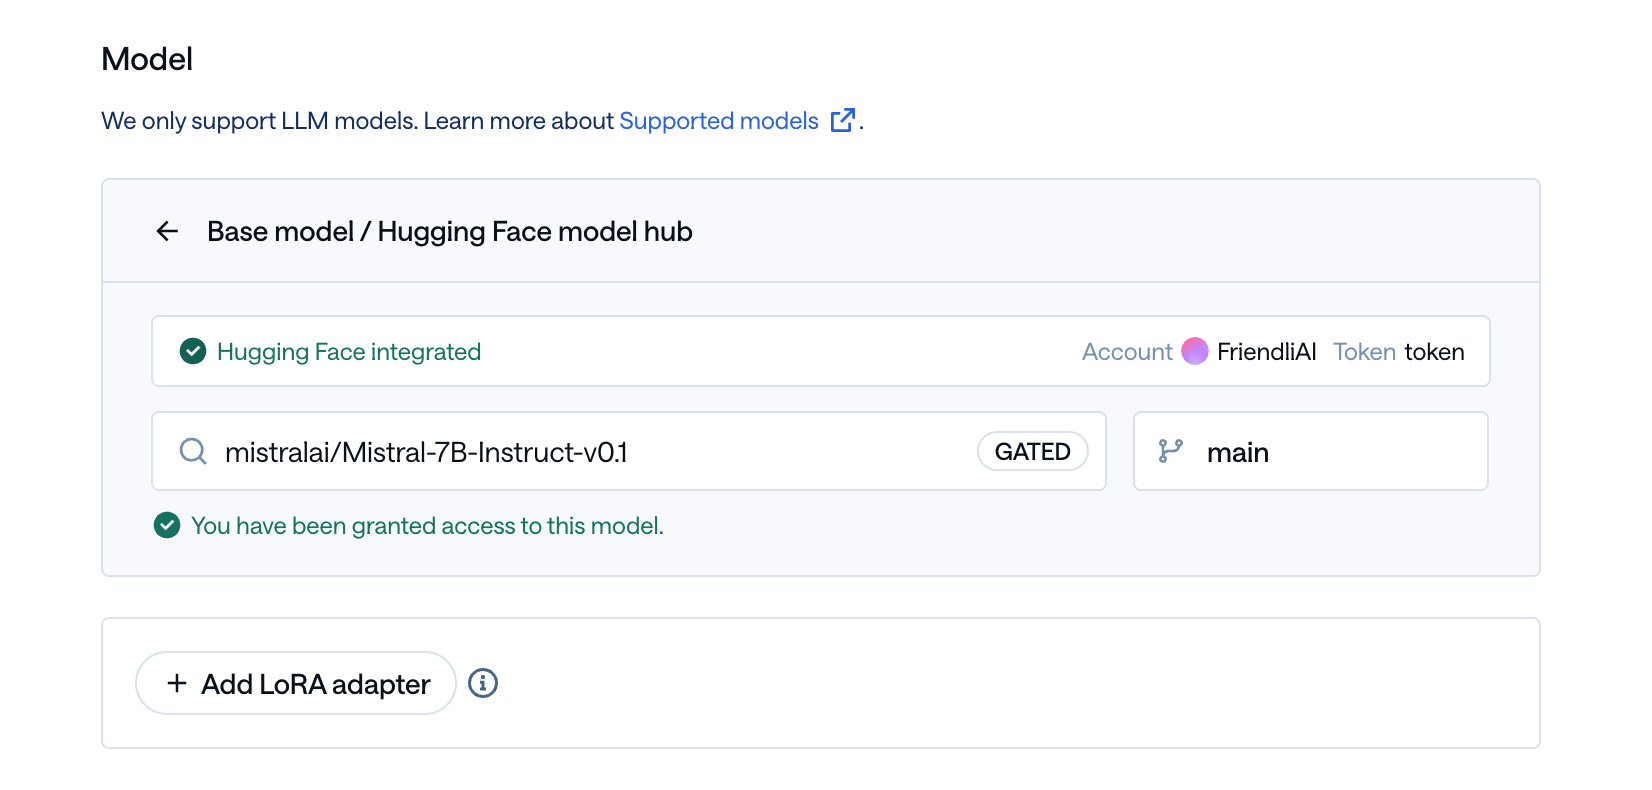
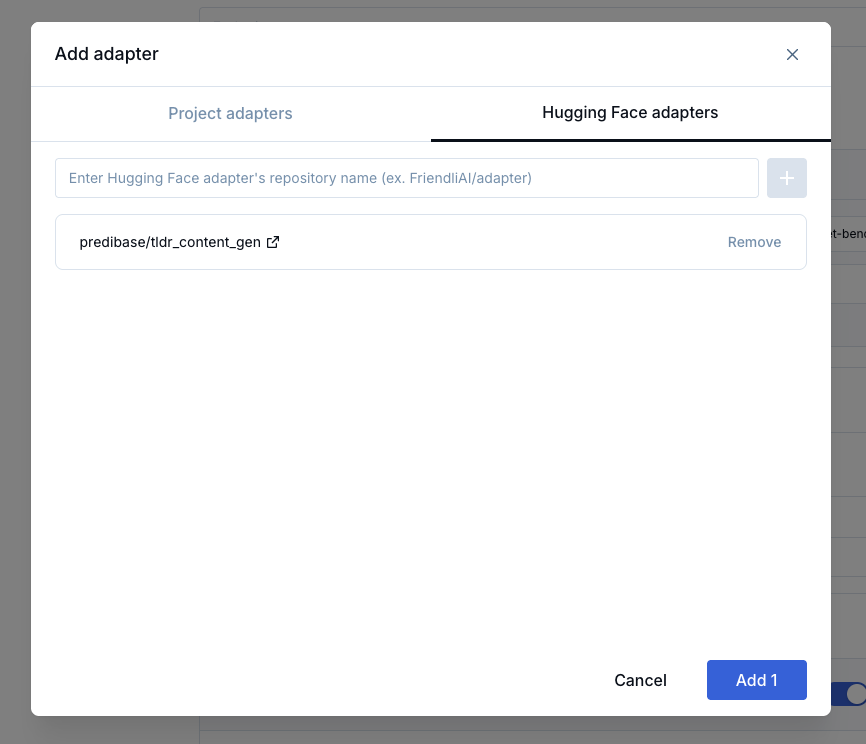
Once the base model is selected, the “Add LoRA adapter” button will become active. Click it to open the modal window for adding LoRA adapters.

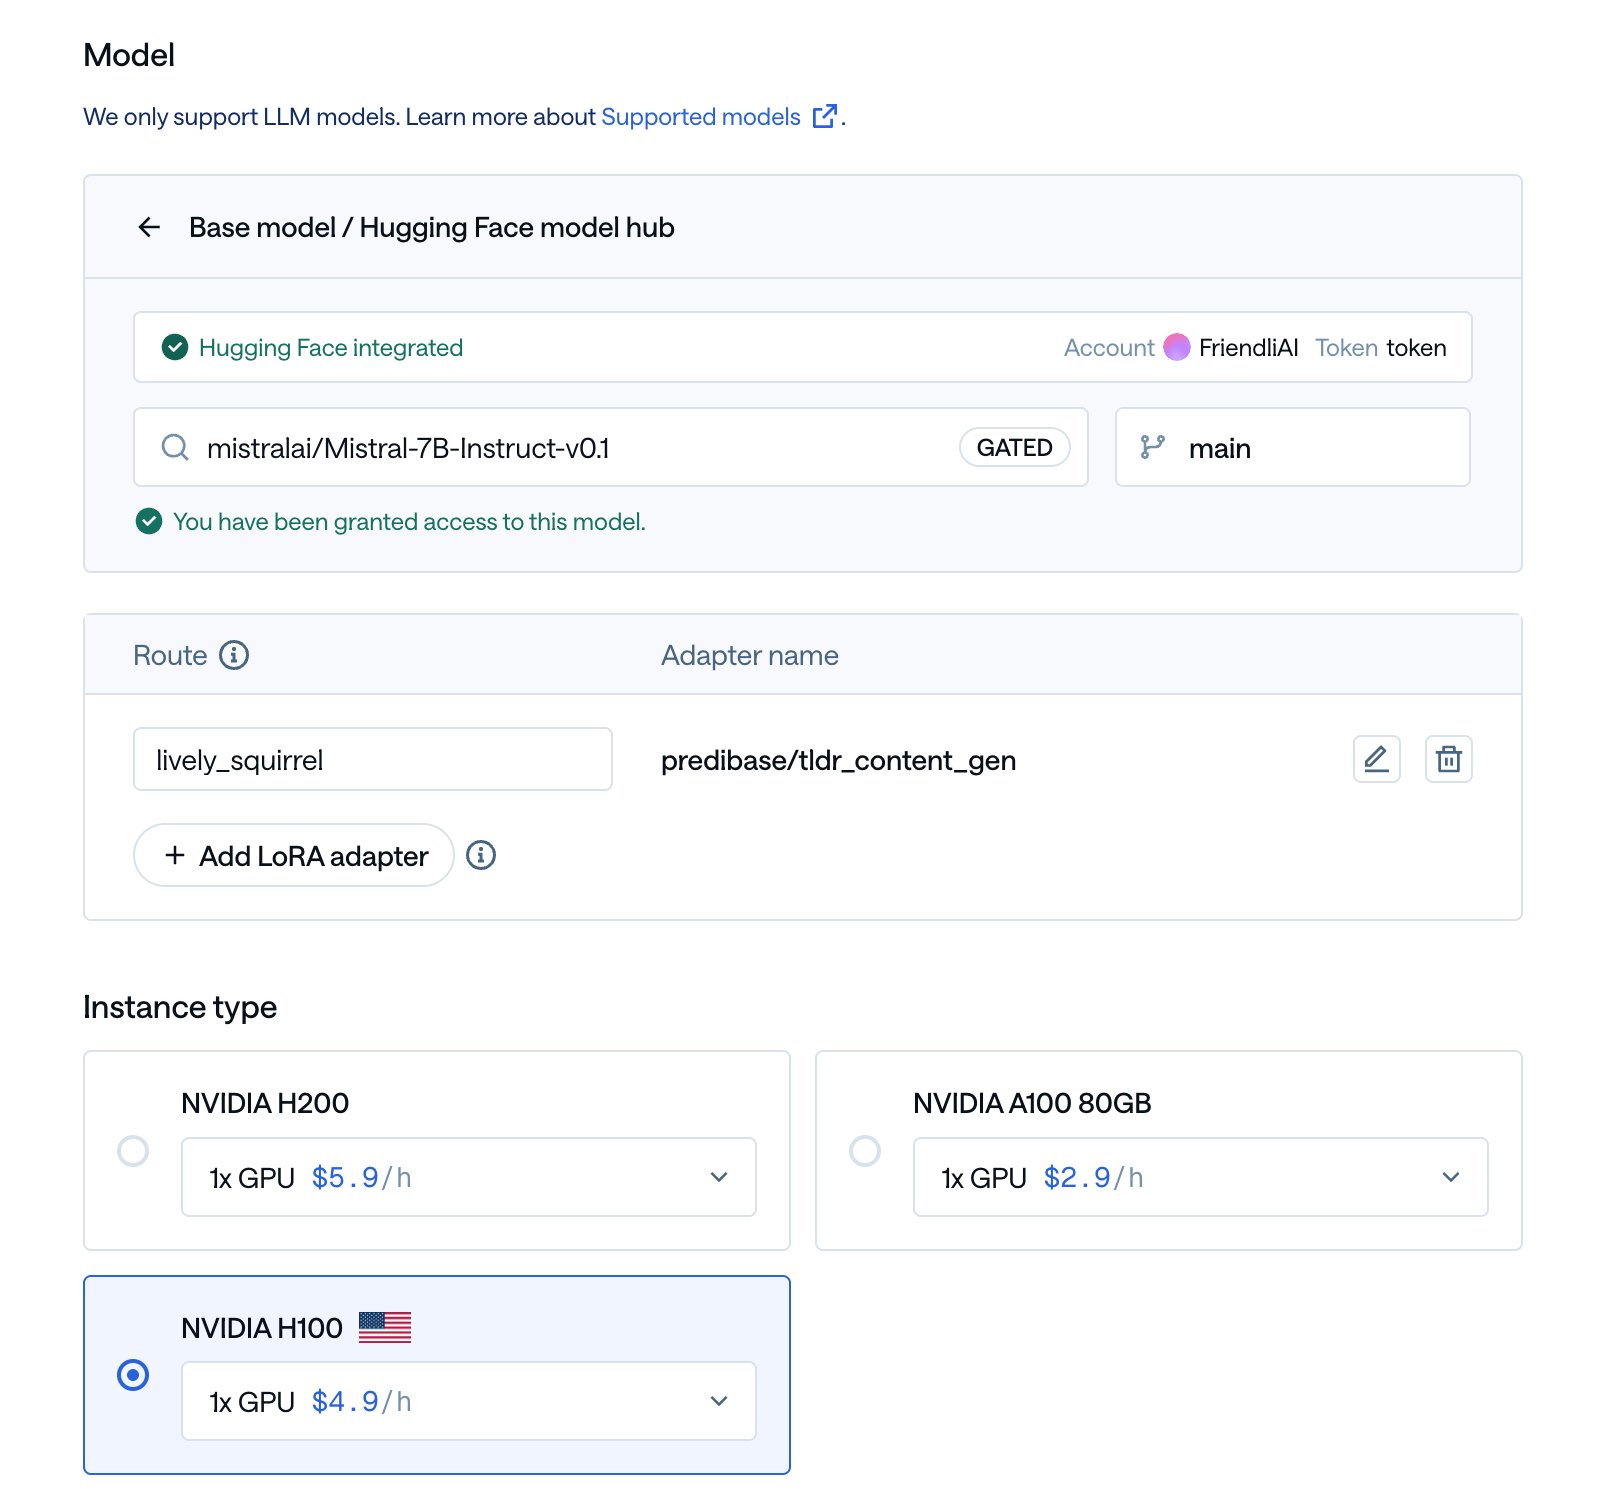
In this modal, you can choose between “Project adapters” (adapters fine-tuned within Friendli Suite) and “Hugging Face adapters”. Select “Hugging Face adapters” and enter the Hugging Face Model ID of the adapter. For this tutorial, it’s predibase/tldr_content_gen.

After adding the adapter, your screen should look like this. Now, select the instance type, configure the autoscaling options appropriately, and click the “Create” button.

For details on other options, please refer to the Deploy with Hugging Face Models documentation.

5

Experiment with the Deployed Adapter Model
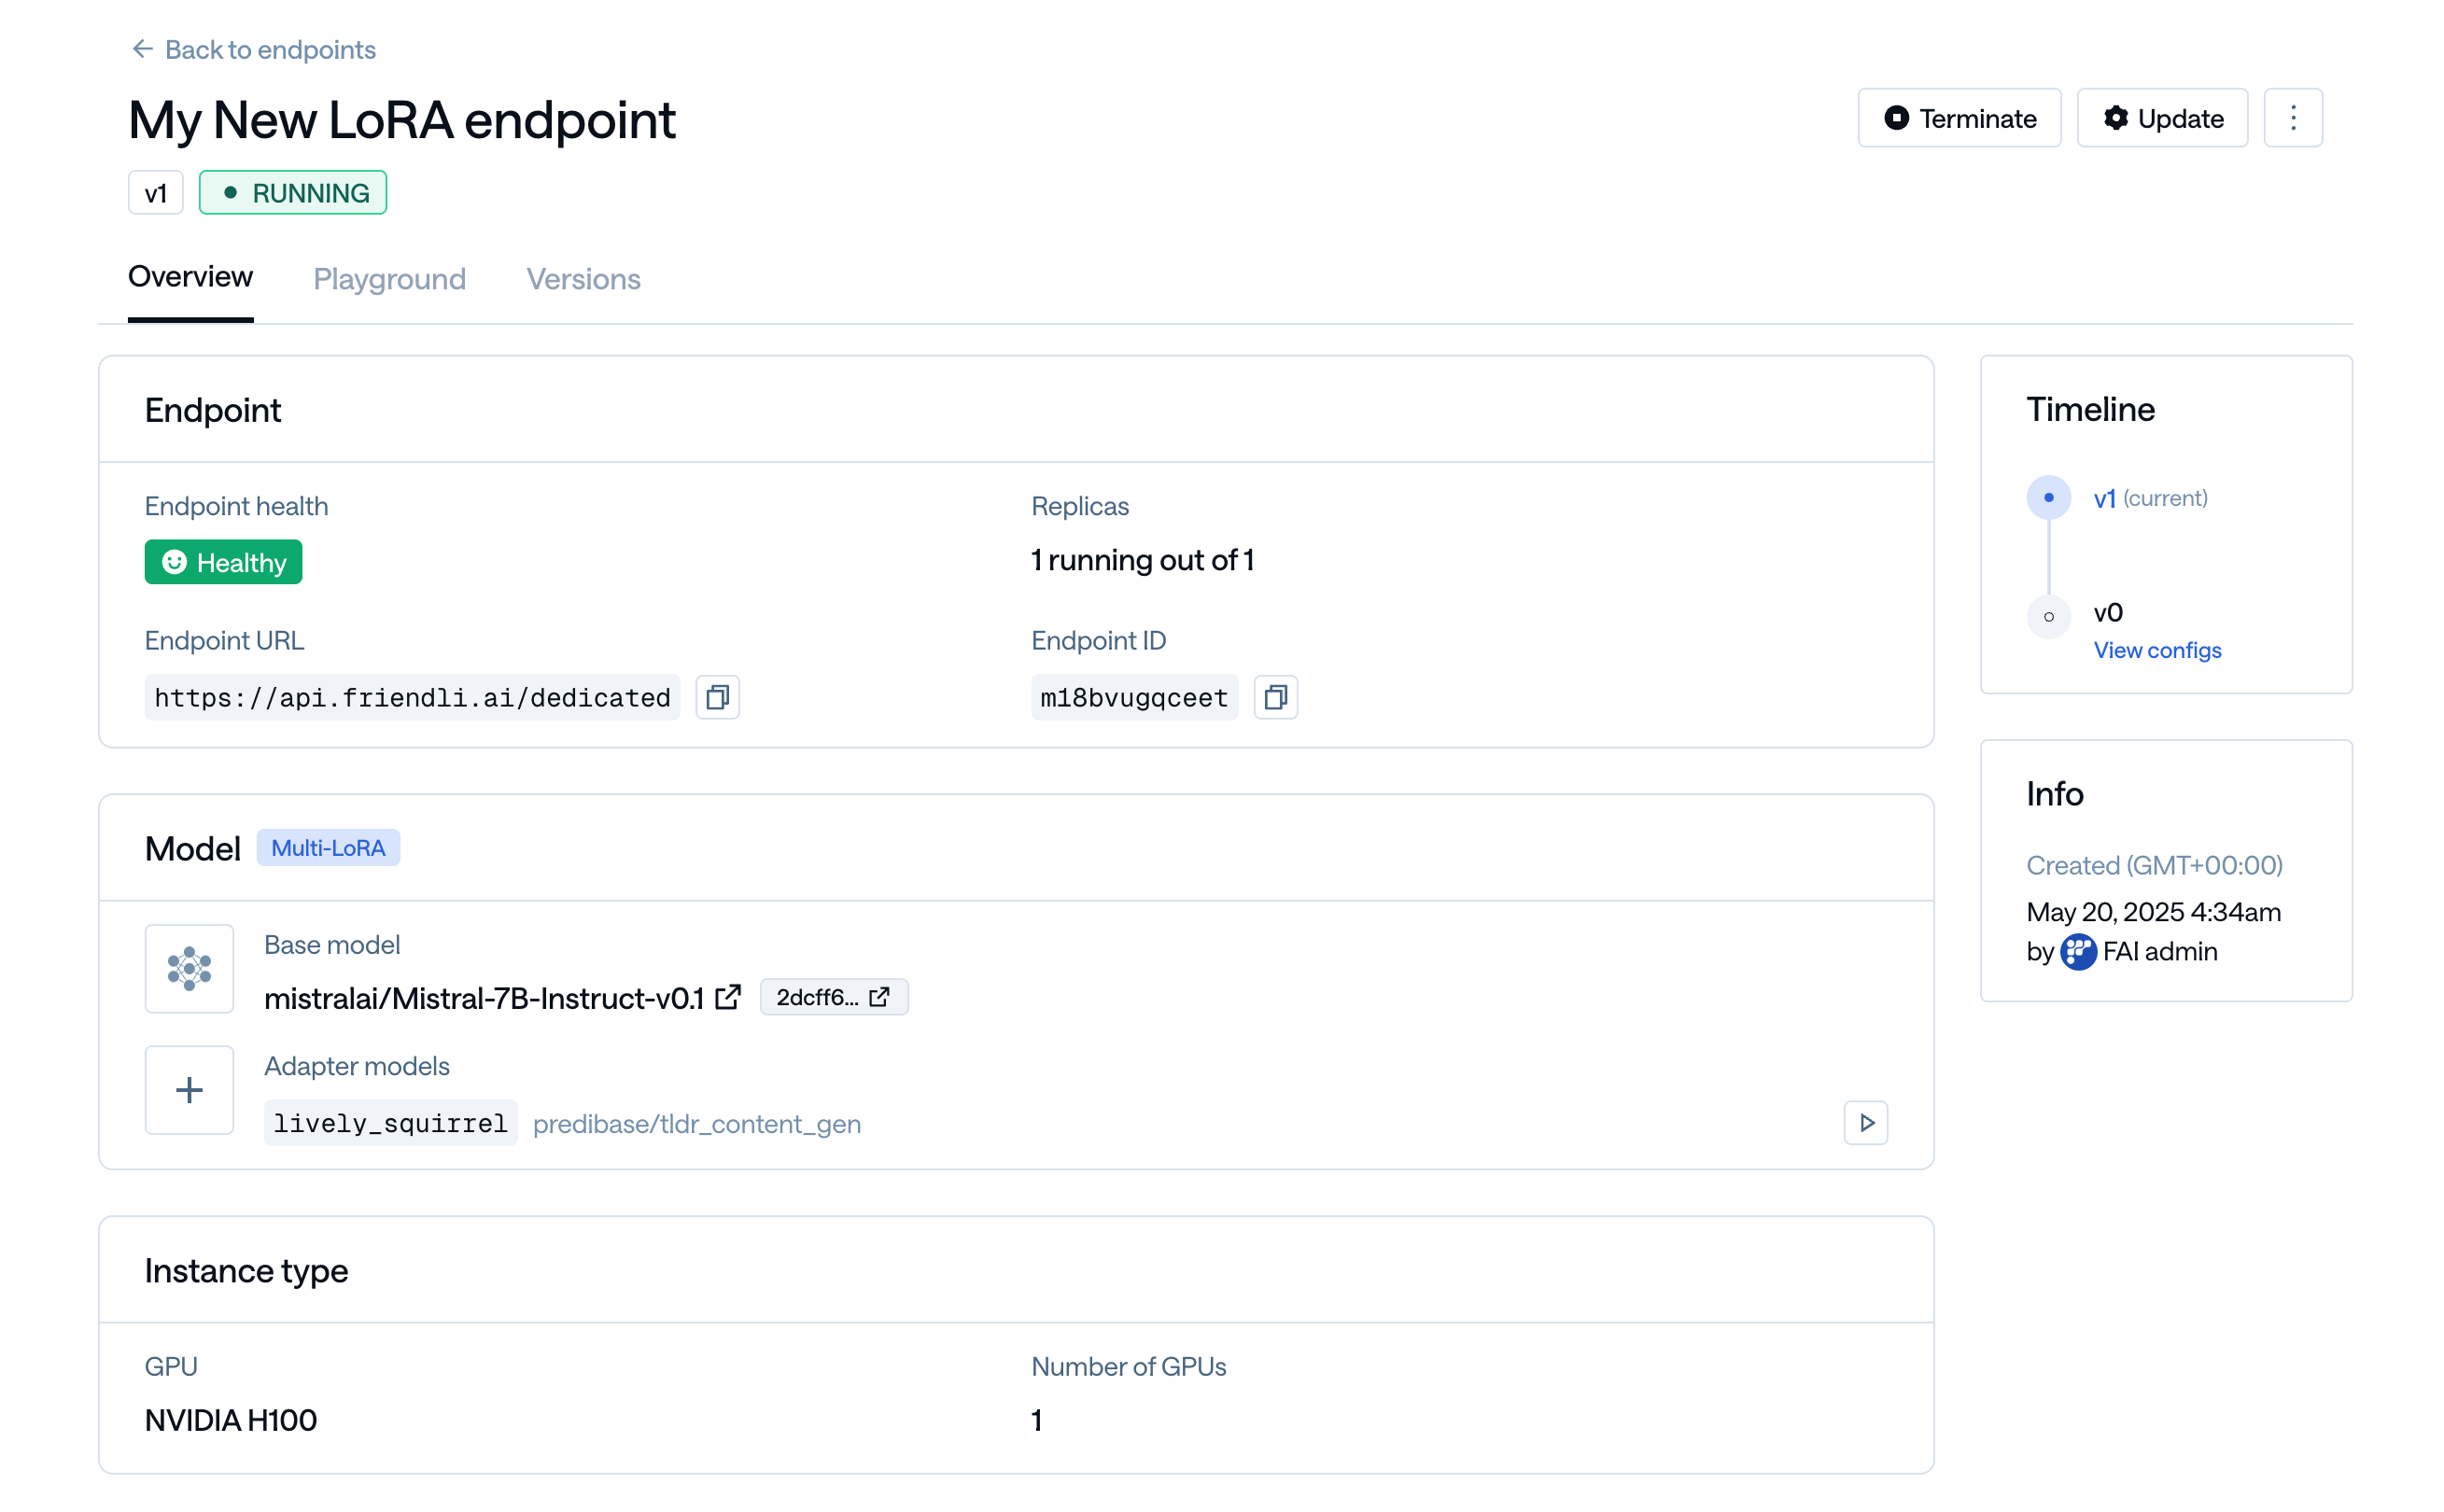
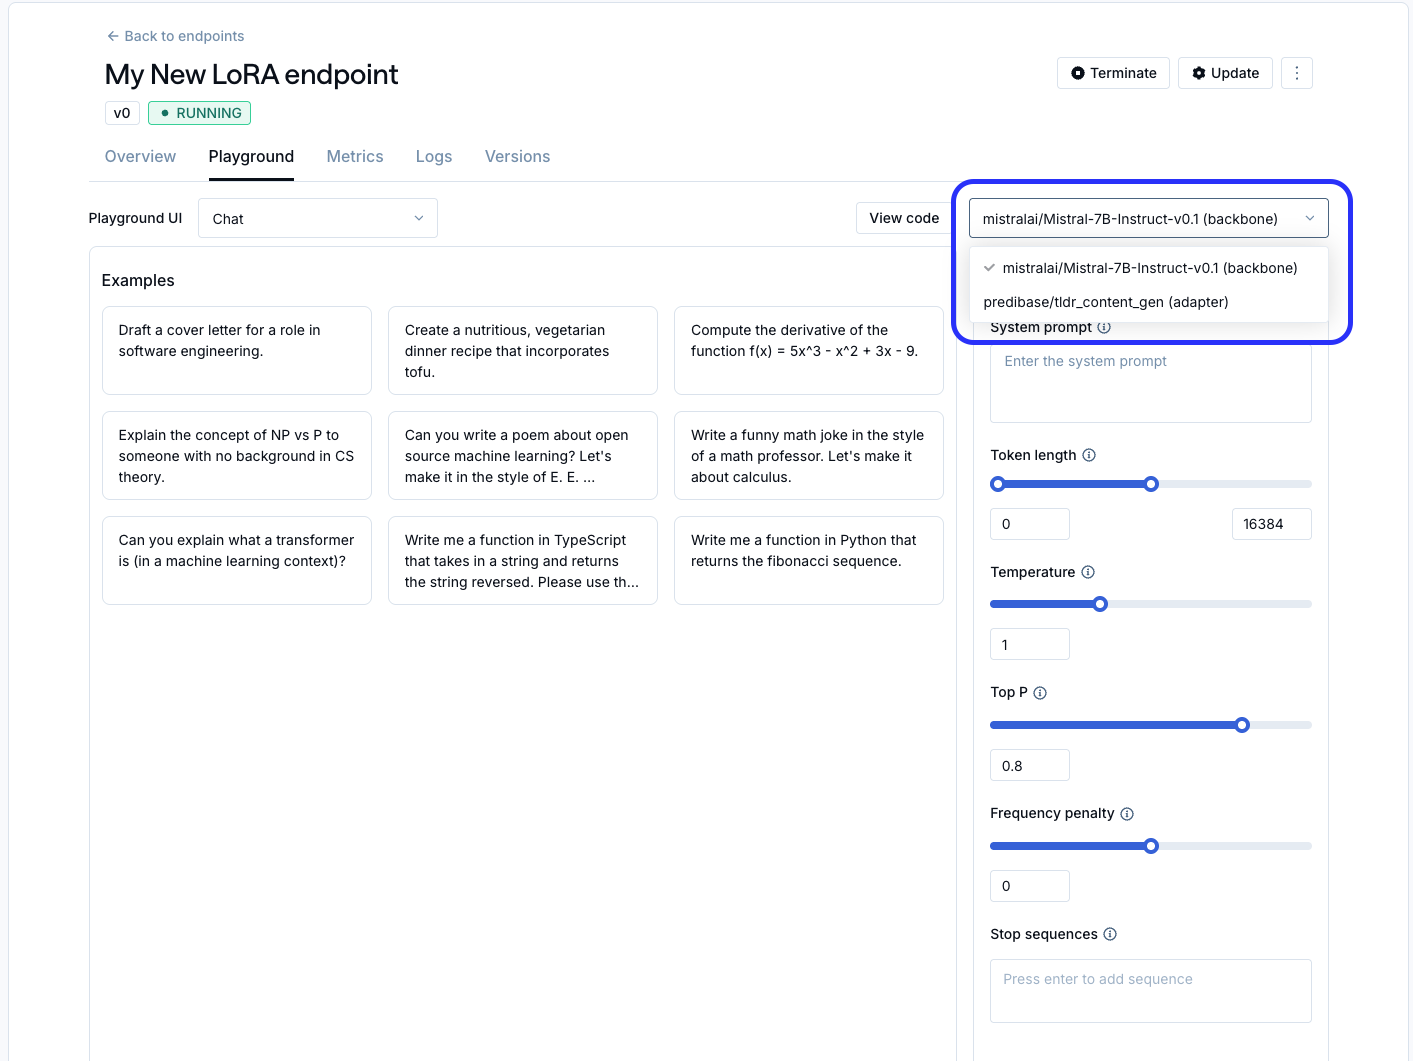
Once the endpoint is deployed, you’ll see a screen like this. Navigate to the Playground page to quickly compare the adapter model and the base model.

In the Playground, use the highlighted dropdown menu to switch between the adapter model and the base model for experimentation and comparison.

That’s it! You have successfully deployed a LoRA adapter on Friendli Dedicated Endpoints and experimented with it in the Playground.

Now you can explore deploying multiple adapters on a single endpoint (Multi-LoRA Endpoints) or use the API to send requests to the model and integrate it into your applications.