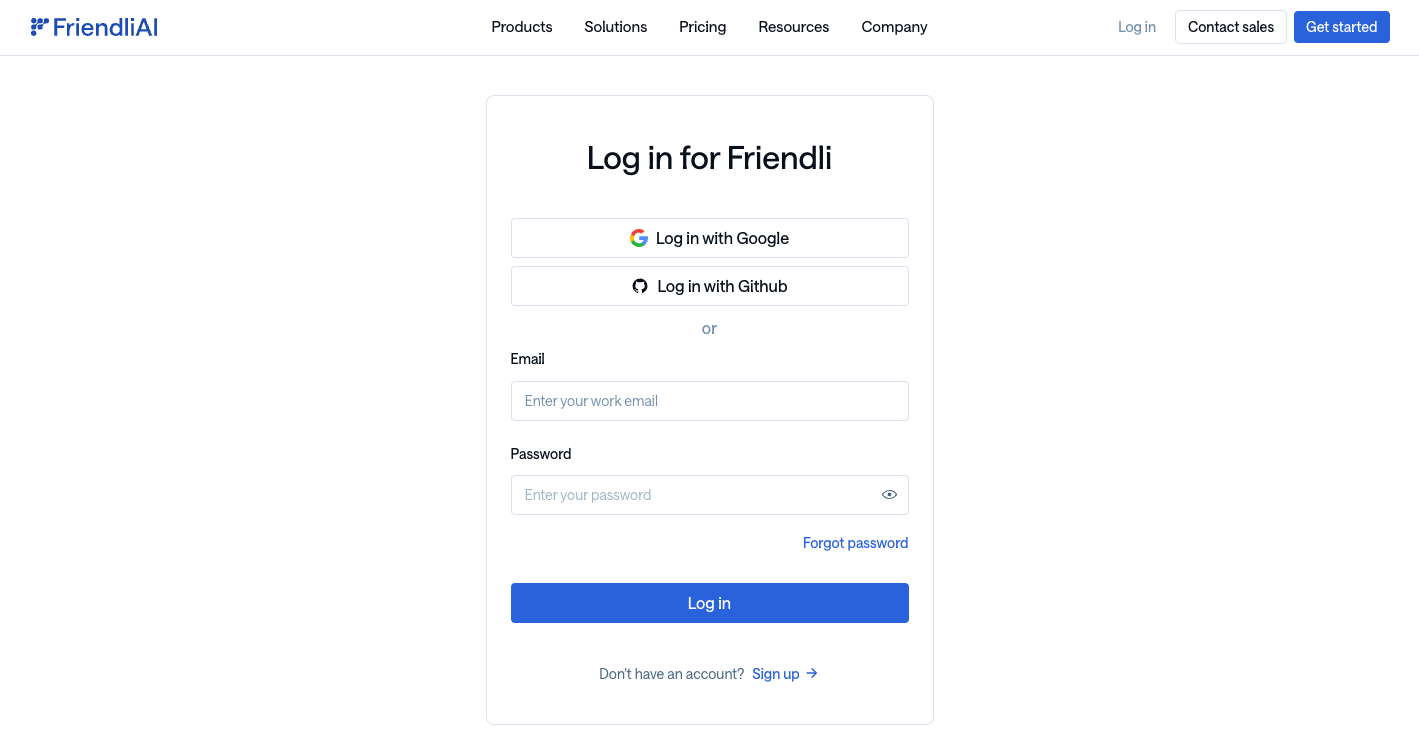
1. Log In or Sign Up
- If you have an account, log in using your preferred SSO or email/password combination.
- If you’re new to FriendliAI, create an account for free.
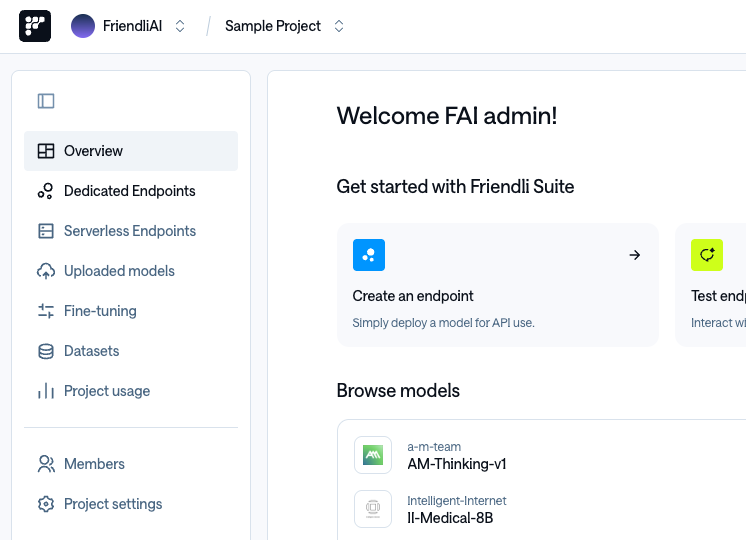
2. Access Friendli Dedicated Endpoints
- On your left sidebar, find the “Dedicated Endpoints” option.
- Click the option to access the endpoint list page.
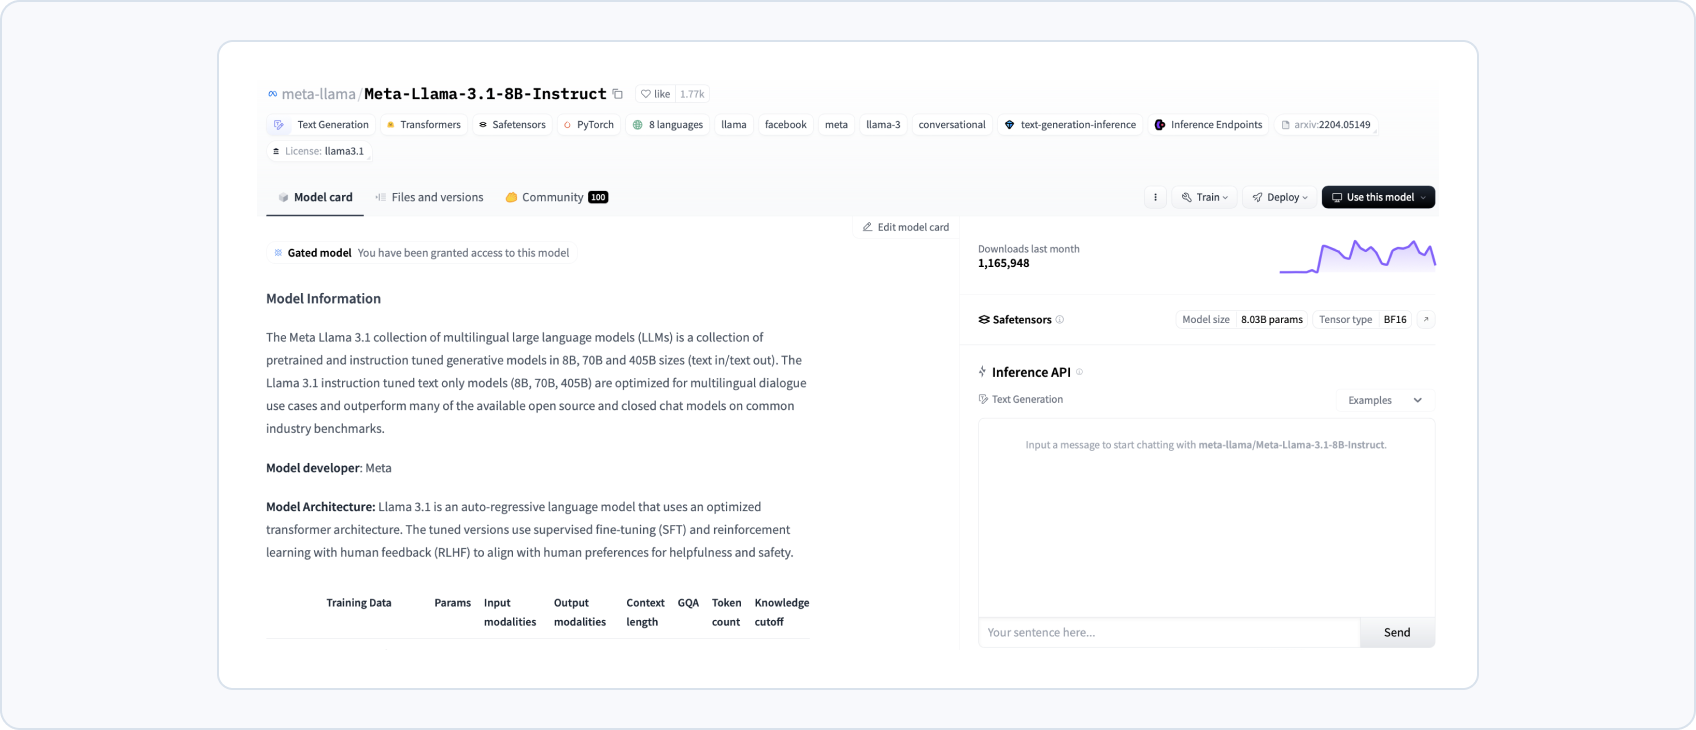
3. Prepare Your Model
- Choose a model that you wish to serve from Hugging Face, Weights & Biases, or upload your custom model on our cloud.
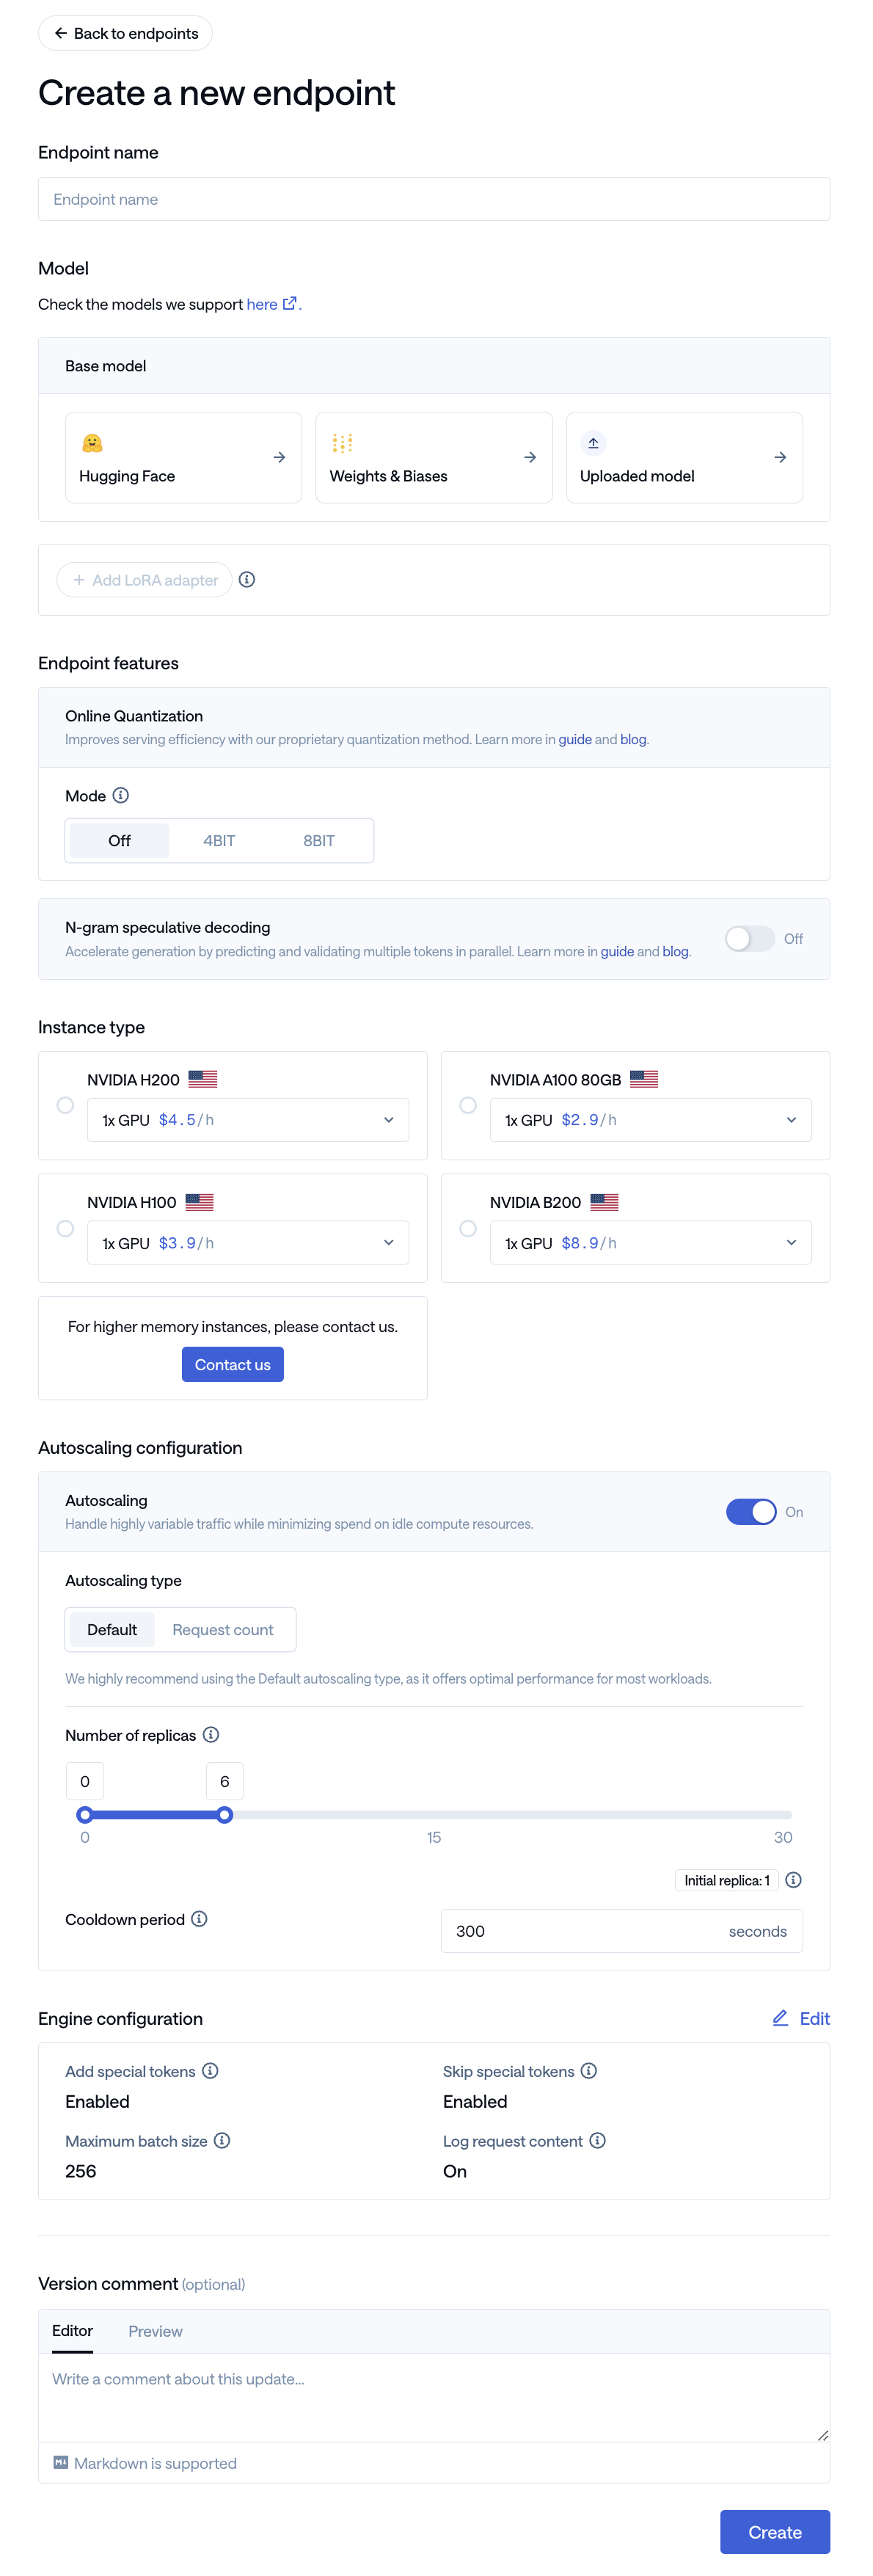
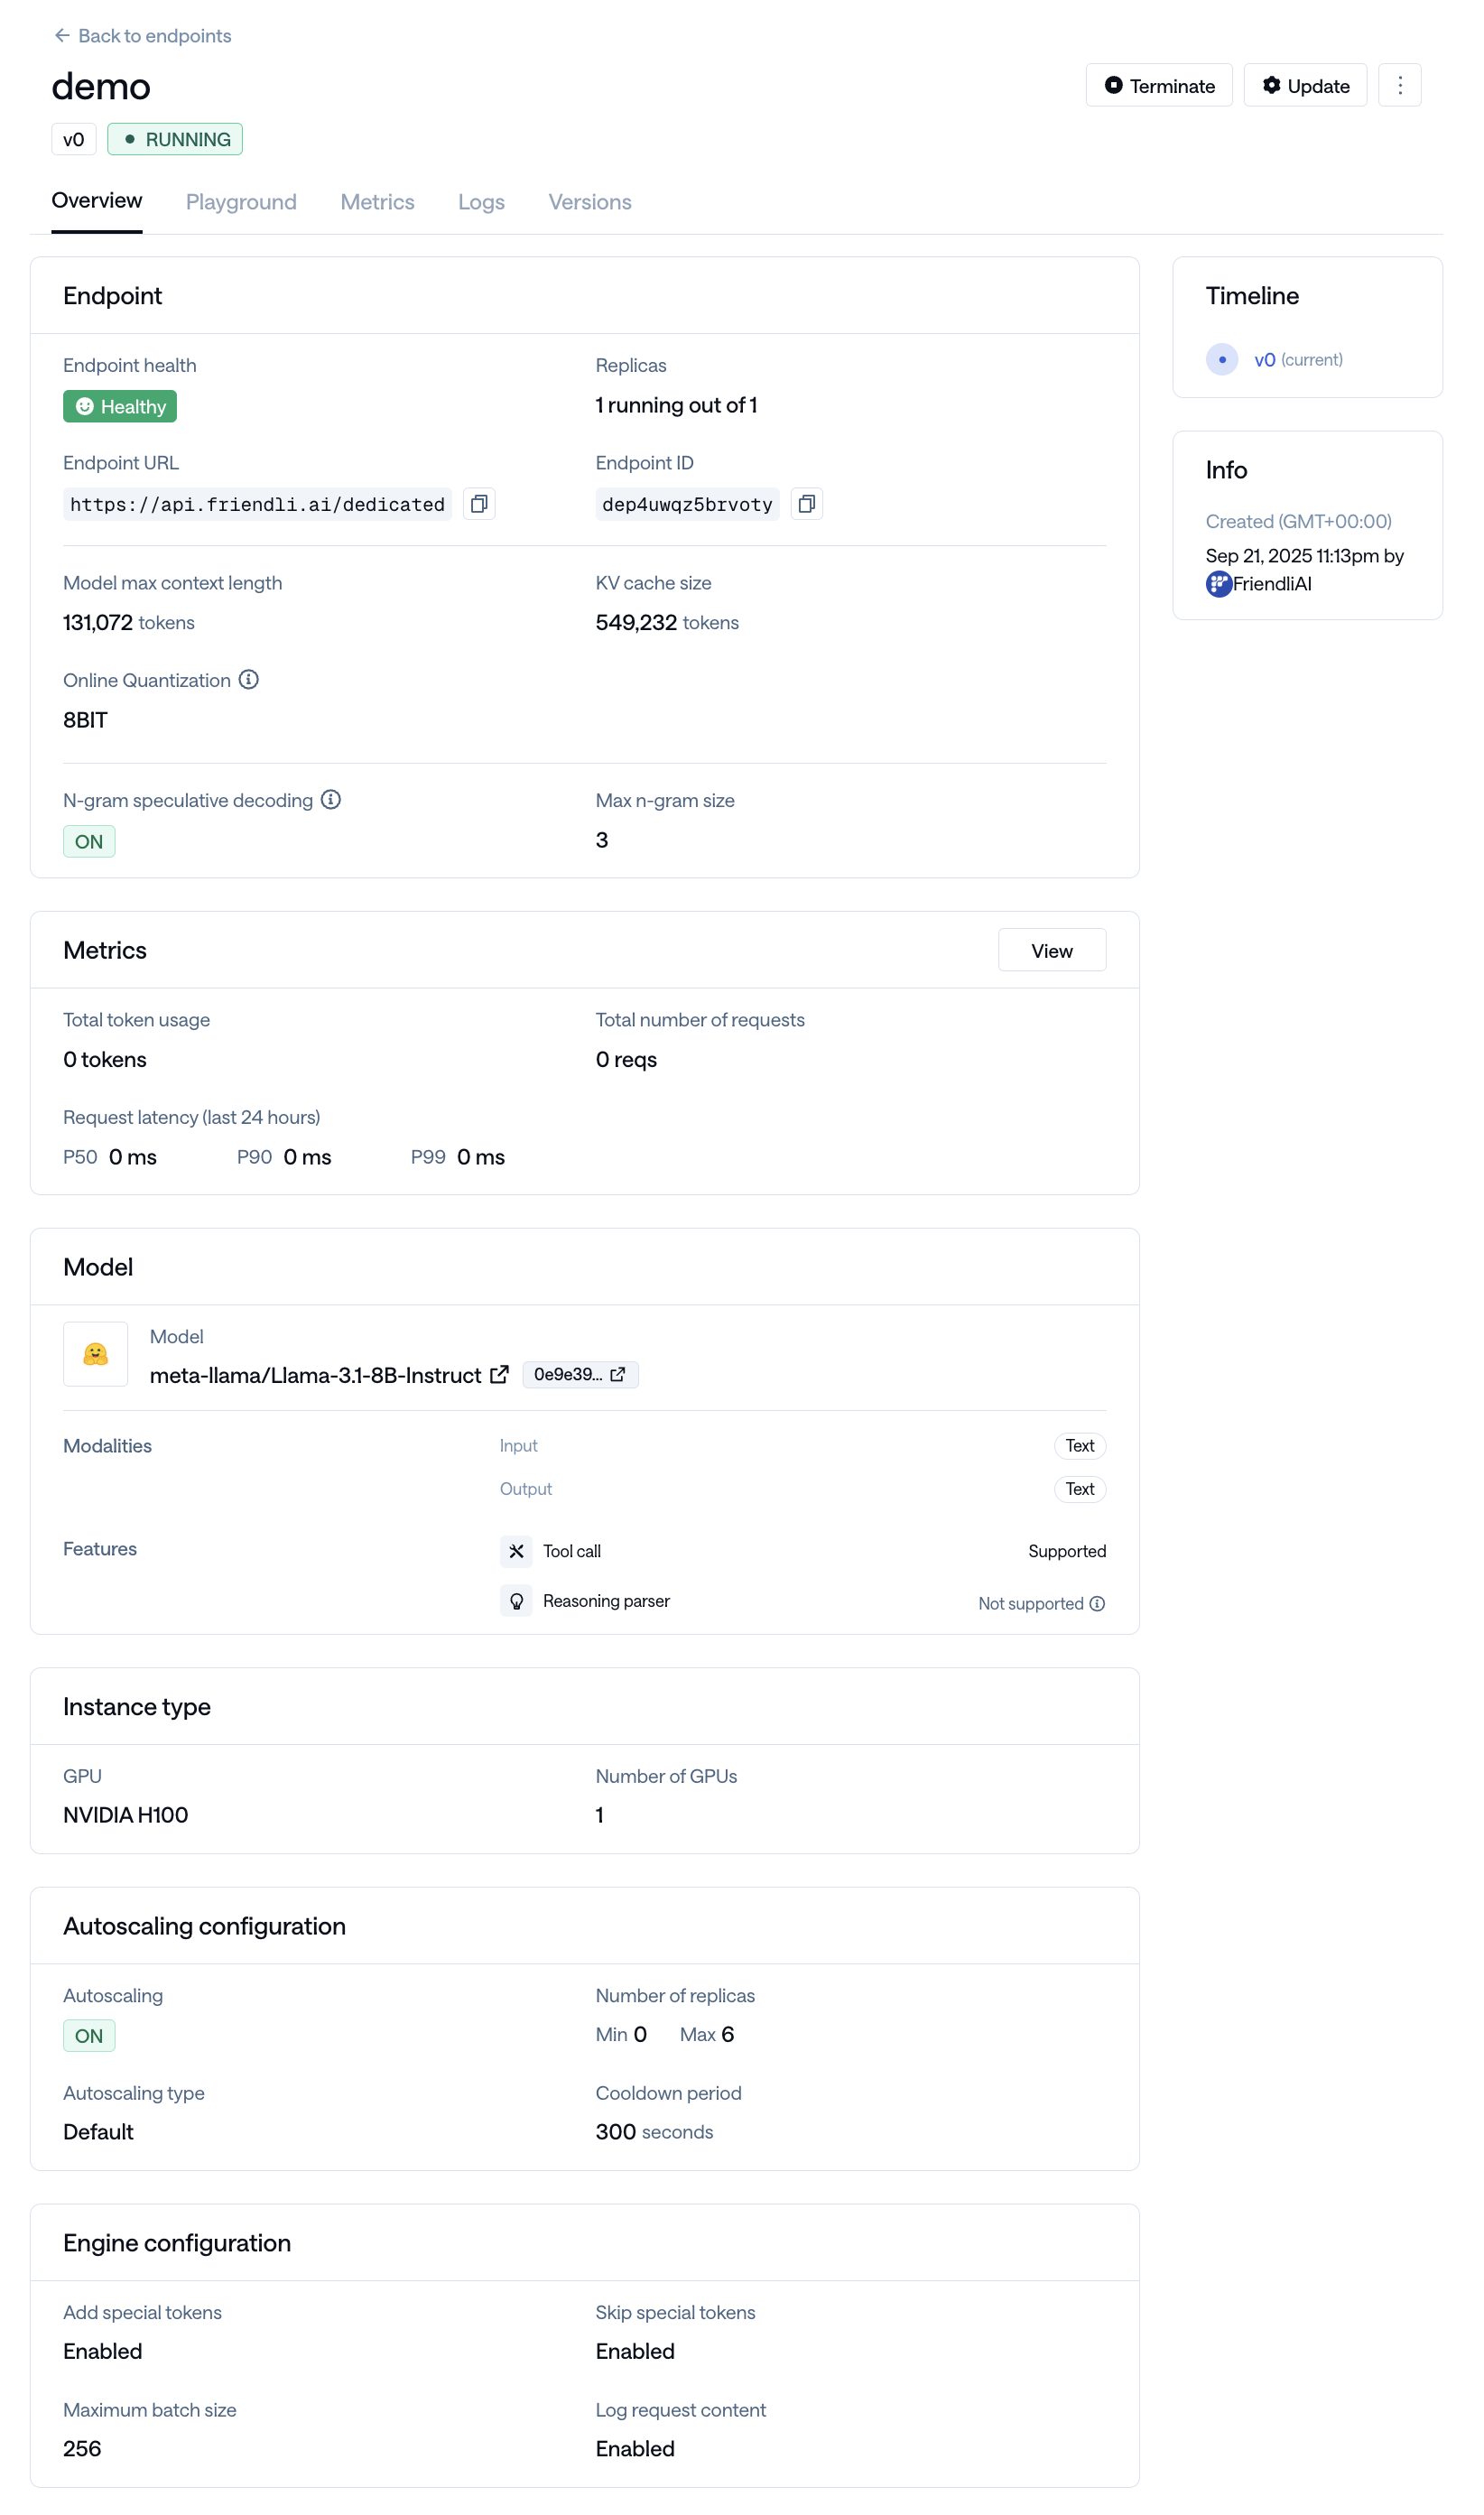
4. Deploy Your Endpoint
- Deploy your endpoint, using the model of your choice prepared from step 3, and the instance equipped with your desired GPU specification.
- You can also configure your replicas and the max-batch-size for your endpoint.
5. Generate Responses
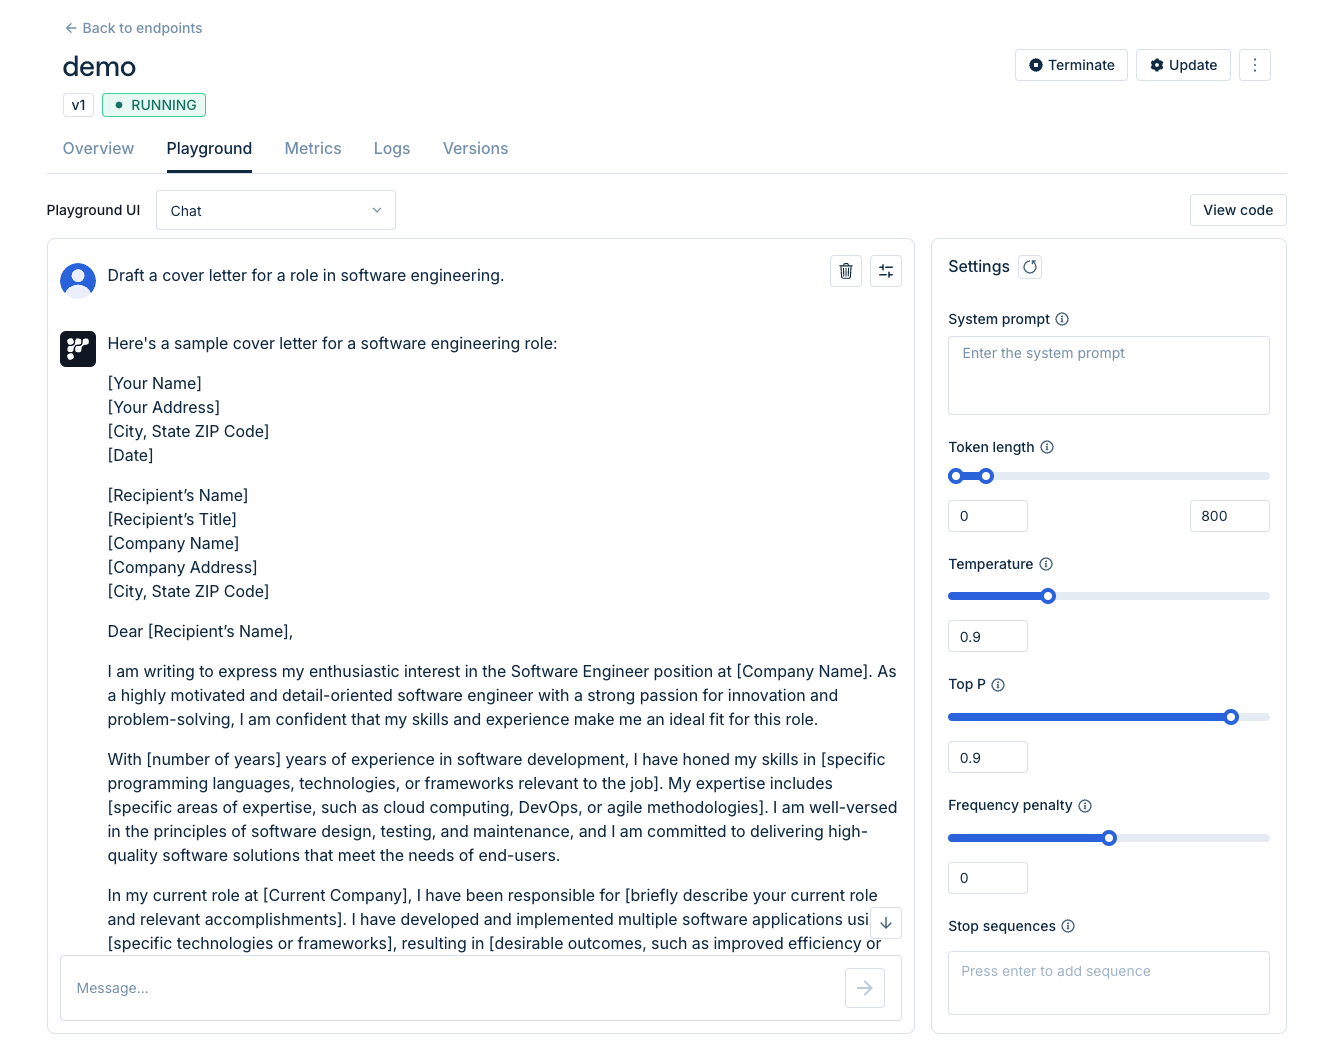
- You can generate your responses in two ways: playground and endpoint URL.
- Try out and test generating responses on your custom model using a chatGPT-like interface at the playground tab.
- For general usage, send queries to your model through our API at the given endpoint address, accessible on the endpoint information tab.
Generating Responses Through the Endpoint URL
Refer to this guide for general instructions on Friendli Token.For a more detailed tutorial for your usage, please refer to our tutorial for using Hugging Face models and W&B models.