- June 12, 2024
- 3 min read
AWS Sagemaker Inference Endpoints in Friendli Container—AI Acceleration on Ease

This blog post will guide you through creating an Amazon SageMaker Model from model artifacts stored in an S3 bucket and leveraging Friendli ECR container images. We'll then configure and deploy this model as a SageMaker Endpoint for real-time inference. You could then use this Endpoint to invoke your models and receive generative AI inference responses.
By utilizing Friendli Containers in your SageMaker pipeline, you'll benefit from the Friendli Inference's speed and resource efficiency. We'll explore how to create inference endpoints using both the AWS Console and the boto3 Python SDK.
The General Workflow

- Create a Model: Within SageMaker Inference, define a new model by specifying the model artifacts in your S3 bucket and the Friendli container image from ECR.
- Configure the Endpoint: Create a SageMaker Inference endpoint configuration by selecting the instance type and the number of instances required.
- Create the Endpoint: Utilize the configured settings to launch a SageMaker Inference endpoint.
- Invoke the Endpoint: Once deployed, send requests to your endpoint to receive inference responses.
Prerequisite
Before beginning, you need to push the Friendli Container image to an ECR repository on AWS. First, prepare the Friendli Container image by following the instructions in "Pulling Friendli Container Image." Then, tag and push the image to the Amazon ECR repository as guided in "Pushing a Docker image to an Amazon ECR private repository."
Using the AWS Console
Let's delve into the step-by-step instructions for creating an inference endpoint using the AWS Console.
Step 1: Creating a Model
- You can start creating model by clicking on the “Create model” button under SageMaker > Inference > Models

- Configure the model

- Model settings:
- Model name: A model name.
- IAM role: An IAM role that includes the AmazonSageMakerFullAccess policy.
- Container definition 1:
- Container input option: Select the “Provide model artifacts and inference image location”.
- Model Compression Type:
- To use a model in the S3 bucket:
- When the model is compressed, select “CompressedModel”.
- Otherwise, select “UncompressedModel”.
- When using a model from the Hugging Face hub, any option would work fine.
- To use a model in the S3 bucket:
- Location of inference code image: Specify the ARN of the ECR repo for the Friendli Container.
- Location of model artifacts - optional:
- To use a model in the S3 bucket:
- Specify the S3 URI where your model is stored. You might wish to ensure that the file structure matches the directory format compatible with the
--hf-model-nameoption of the Friendli Container.
- Specify the S3 URI where your model is stored. You might wish to ensure that the file structure matches the directory format compatible with the
- When using a model from the Hugging Face hub, you could leave this field empty.
- To use a model in the S3 bucket:
- Environment variables:The required environment variables are as follows:
- Always required:
FRIENDLI_CONTAINER_SECRET: Your Friendli Container Secret.- Please refer to Preparing Container Secret, to learn how to get the container secret.
SAGEMAKER_MODE: This should be set toTrue.SAGEMAKER_NUM_DEVICES: Number of devices to use for the tensor parallelism degree.
- Required when using a model in the S3 bucket:
SAGEMAKER_USE_S3: This should be set toTrue.
- Required when using a model from the Hugging Face hub:
SAGEMAKER_HF_MODEL_NAME: The Hugging Face model name (e.g.,mistralai/Mistral-7B-Instruct-v0.2)- For private or gated model repos:
HF_TOKEN: The Hugging Face secret access token.
- Always required:
Step 2: Creating an Endpoint Configuration
- You can start by clicking on the “Create endpoint configuration” button under Sagemaker > Inference > Endpoint configurations

- Configure the endpoint configurations.
- Endpoint configuration:
- Endpoint configuration name: The name of this endpoint configuration.
- Type of endpoint: For real-time inference, select “Provisioned”.
- Async Invocation Config:
- Variants:
- To create a “Production” variant, click “Create production variant”.
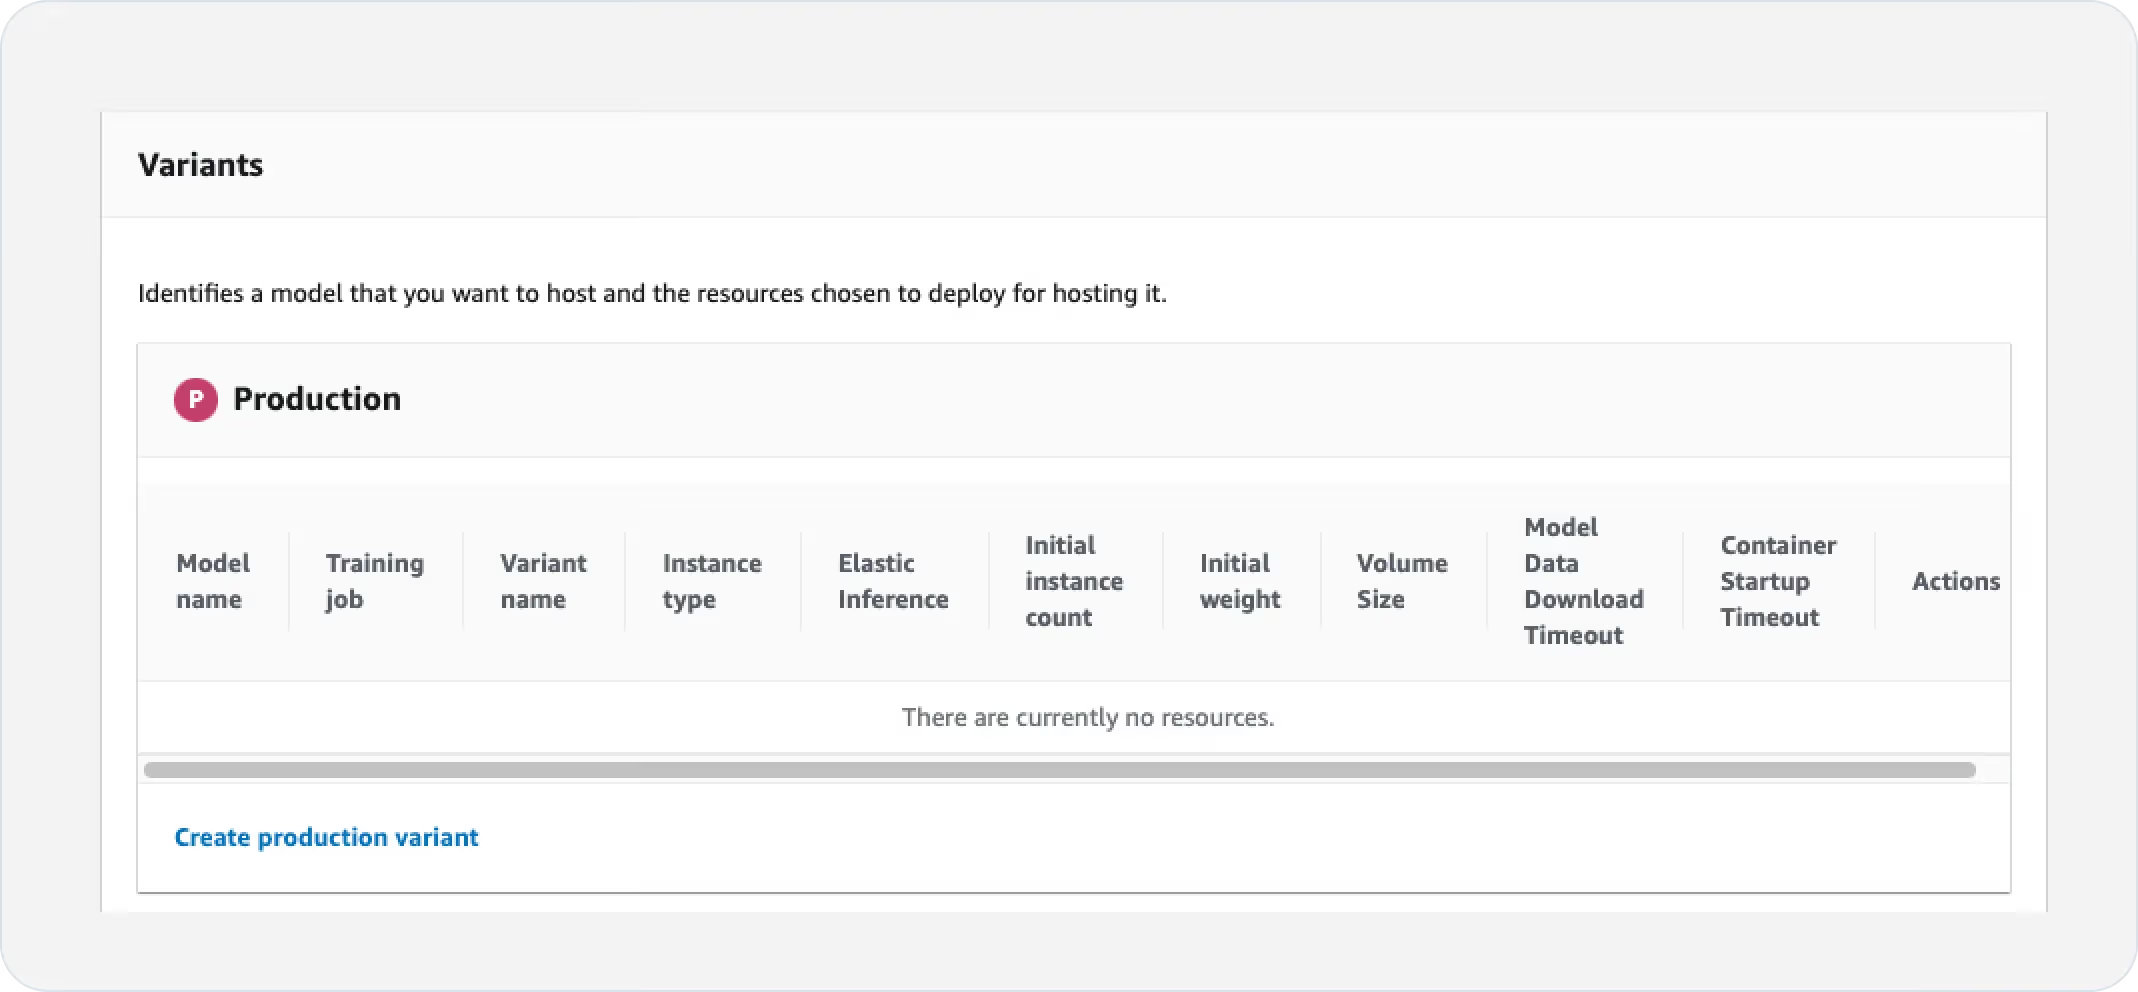
- Select the model that you have created in Step 1.
- Configure the instance type and count by clicking on “Edit” in the Actions column.

- To create a “Production” variant, click “Create production variant”.
- Create the endpoint configuration by clicking “Create endpoint configuration”.
- Endpoint configuration:
Step 3: Creating SageMaker Inference Endpoint
- You can start by clicking the “Create endpoint” button under Sagemaker > Inference > Endpoints.
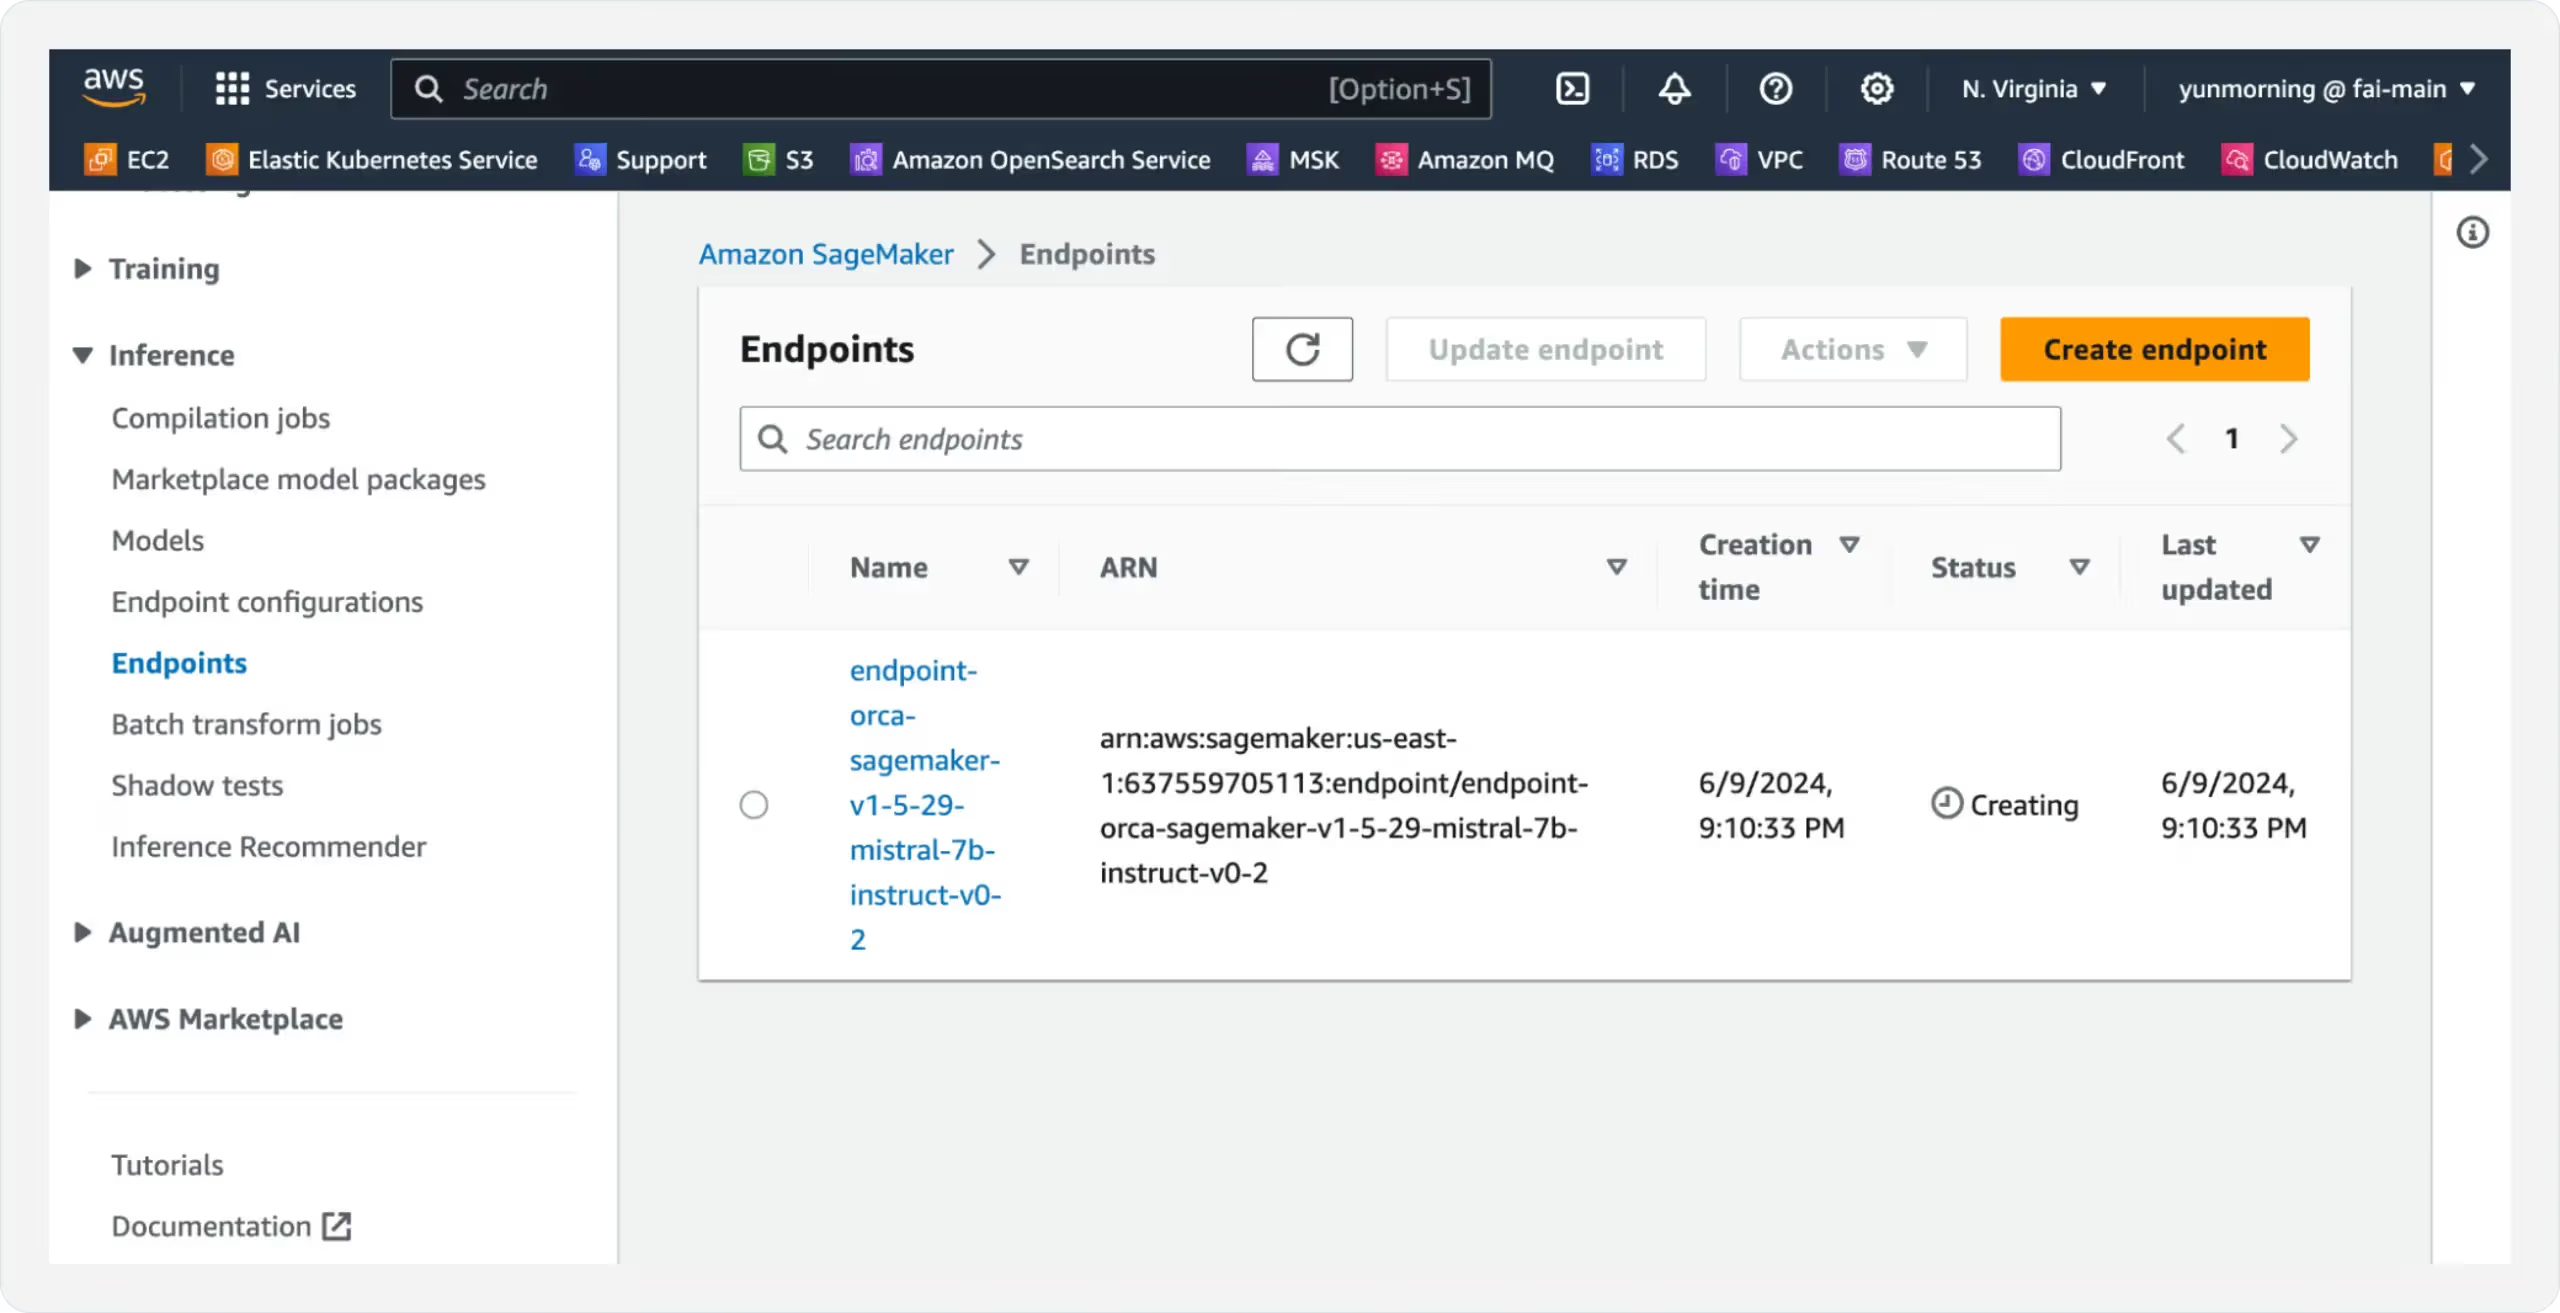
- Select “Use an existing endpoint configuration”.
- Select the endpoint configuration created in Step 2.
- Finish by clicking on the “Create endpoint” button.
Step 4: Invoking Endpoint
When the endpoint status becomes “In Service”, you can invoke the endpoint with the following script, after filling in the endpoint name and the region name:
Using the boto3 SDK
Next, let’s discover the process for creating a Sagemaker endpoint using the boto3 Python SDK. You can achieve this by using the code snippet below. Be sure to fill in the custom fields, customized for your specific use case:
You can invoke this endpoint by following Step 4 described in the “Using the AWS Console” section. By following these guides, you'll be able to seamlessly deploy your models using Friendli Containers on SageMaker endpoints and leverage their capabilities for real-time inference.
Learn more about Friendli Container and the Friendli Inference on our website!
Written by
FriendliAI Tech & Research
Share
General FAQ
What is FriendliAI?
FriendliAI is a GPU-inference platform that lets you deploy, scale, and monitor large language and multimodal models in production, without owning or managing GPU infrastructure. We offer three things for your AI models: Unmatched speed, cost efficiency, and operational simplicity. Find out which product is the best fit for you in here.
How does FriendliAI help my business?
Our Friendli Inference allows you to squeeze more tokens-per-second out of every GPU. Because you need fewer GPUs to serve the same load, the true metric—tokens per dollar—comes out higher even if the hourly GPU rate looks similar on paper. View pricing
Which models and modalities are supported?
Over 580,000 text, vision, audio, and multi-modal models are deployable out of the box. You can also upload custom models or LoRA adapters. Explore models
Can I deploy models from Hugging Face directly?
Yes. A one-click deploy by selecting “Friendli Endpoints” on the Hugging Face Hub will take you to our model deployment page. The page provides an easy-to-use interface for setting up Friendli Dedicated Endpoints, a managed service for generative AI inference. Learn more about our Hugging Face partnership
Still have questions?
If you want a customized solution for that key issue that is slowing your growth, support@friendli.ai or click Talk to an engineer — our engineers (not a bot) will reply within one business day.

